I cannot imagine a fine art rubber stamping store having more fun that we had at Art 'n Soul on Friday for Play Day when we learned some of the many projects you can make with the We R Memory Keepers' Punch Board.


Let's begin . . .

 |
| Templates by Sharon Wolvin |

A2 Notecard Box
 |
| by Dianne Johnson |
- 9" x 9" paper
- Punch and score at 3-1/2" AND 4-1/2"
- Turn 180-degrees; punch and score at 3-1/2" AND 4-1/2"
- Turn 90-degrees; score with the marker out at the first score line; then again at the second score line
- Turn 180-degrees and repeat; punch and score with the marker foot at the first score one, then again at the second score line
- Snip and trim flaps on one of the long ends; this will be the BOTTOM of the box. Cut out the flaps on the top of the box. Round the corners all around the box if desired.
- If you're not using patterned paper, stamp or decorate the paper while still flat
- Apply adhesive to fasten box together
- The formula for making any size box using the measurements on the punch board is . . .
- Look on the punch board and find the card size you want to make a box for
- Increase the paper size by 1-1/4 inch
- First score line should be 1/8-inch more than the measurement given on the board
- Second score line should be 1-inch from the first one
- Punch and score at the two places
- Turn 180-degrees and do the same.
- Continue to follow the directions given above
- NOTE -- Dianne says her box needed a little creative snipping on the flaps

 |
| Flowers: Cheery Lynn Shasta Daisy Die (B310) |
A2 Card Envelope
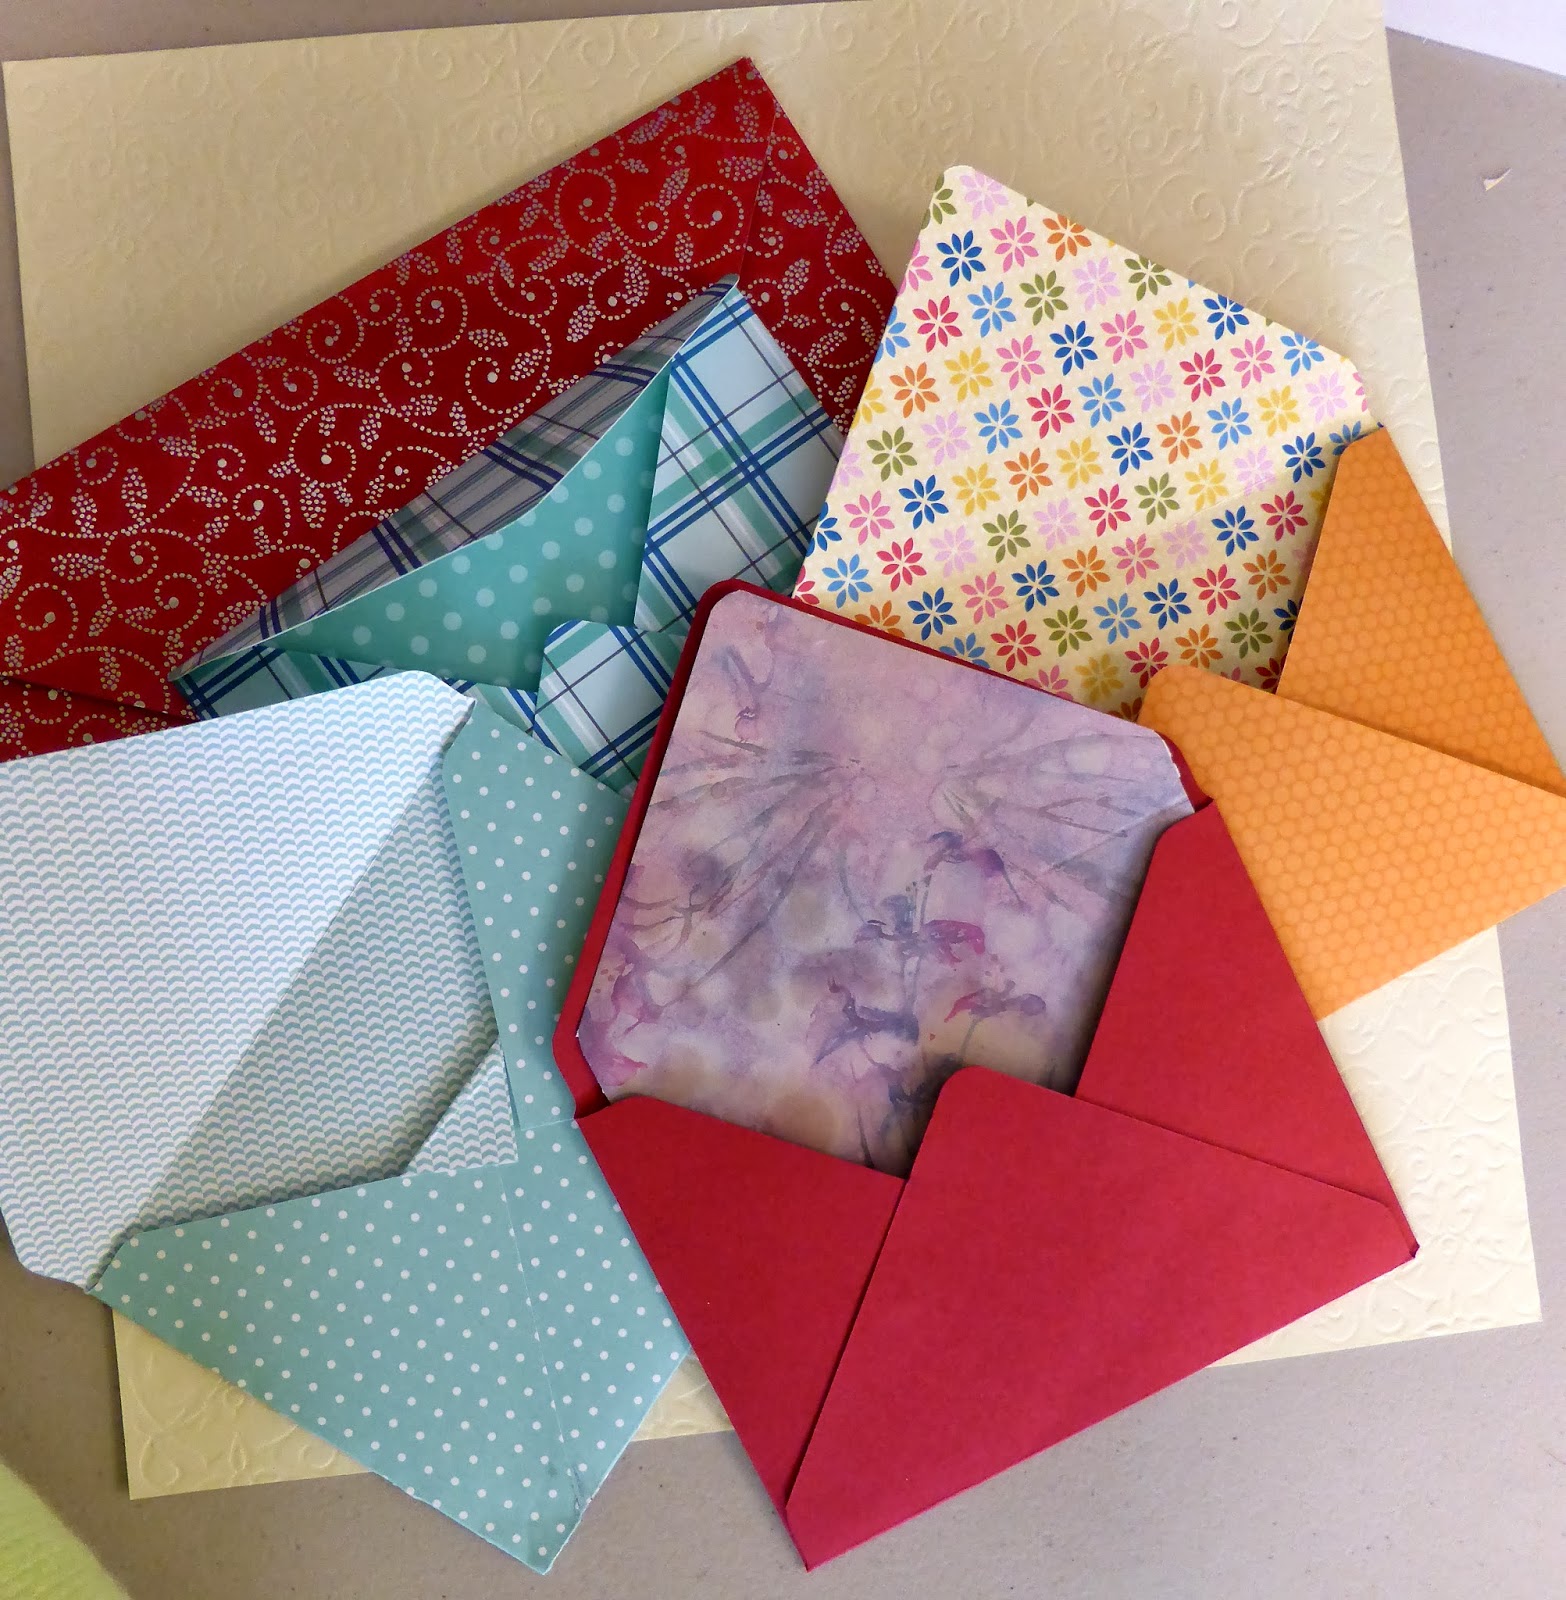 |
| by Sharon Wolvin |


- 8" x 8" paper
- Punch and Score at 3-1/2"
- Rotate paper 90-degrees; line up score line with notch; punch and score
- Rotate paper again 90-degrees; line up score line with notch; punch and score
- Rotate paper again 90-degrees; line up score line with notch; punch and score
- If you'd like to round off the corners, place each corner of the paper into the corner punch at the top of the punch board and punch
A2 Envelope Liner
 |
| by Sharon Wolvin |


- 7-3/4 inch x 7-3/4 inch paper
- Align left side of paper to the 3-1/2" mark and punch
- Score lightly from the bottom up, just high enough so you will be able to use this score line to align with the notch at the next turn
- Rotate the paper 90-degrees; punch and score lightly from the bottom up (for more more info, see Step 3); repeat 2 more times until all 4 sides have been punched and scored.
- Using the corner rounder punch (top of board), round the corners on the 2 longer sides
- On a paper trimmer, line up the cutting edge between the punches above and below on the 2 shorter sides and cut, cutting the paper in half; the edge should be straight and you have only the 2 larger sides only
- Insert the liner in an envelope leaving about 3/4" or less margin at the top
- Fold the liner down along the envelope score line
- Glue folded liner and attach to flap
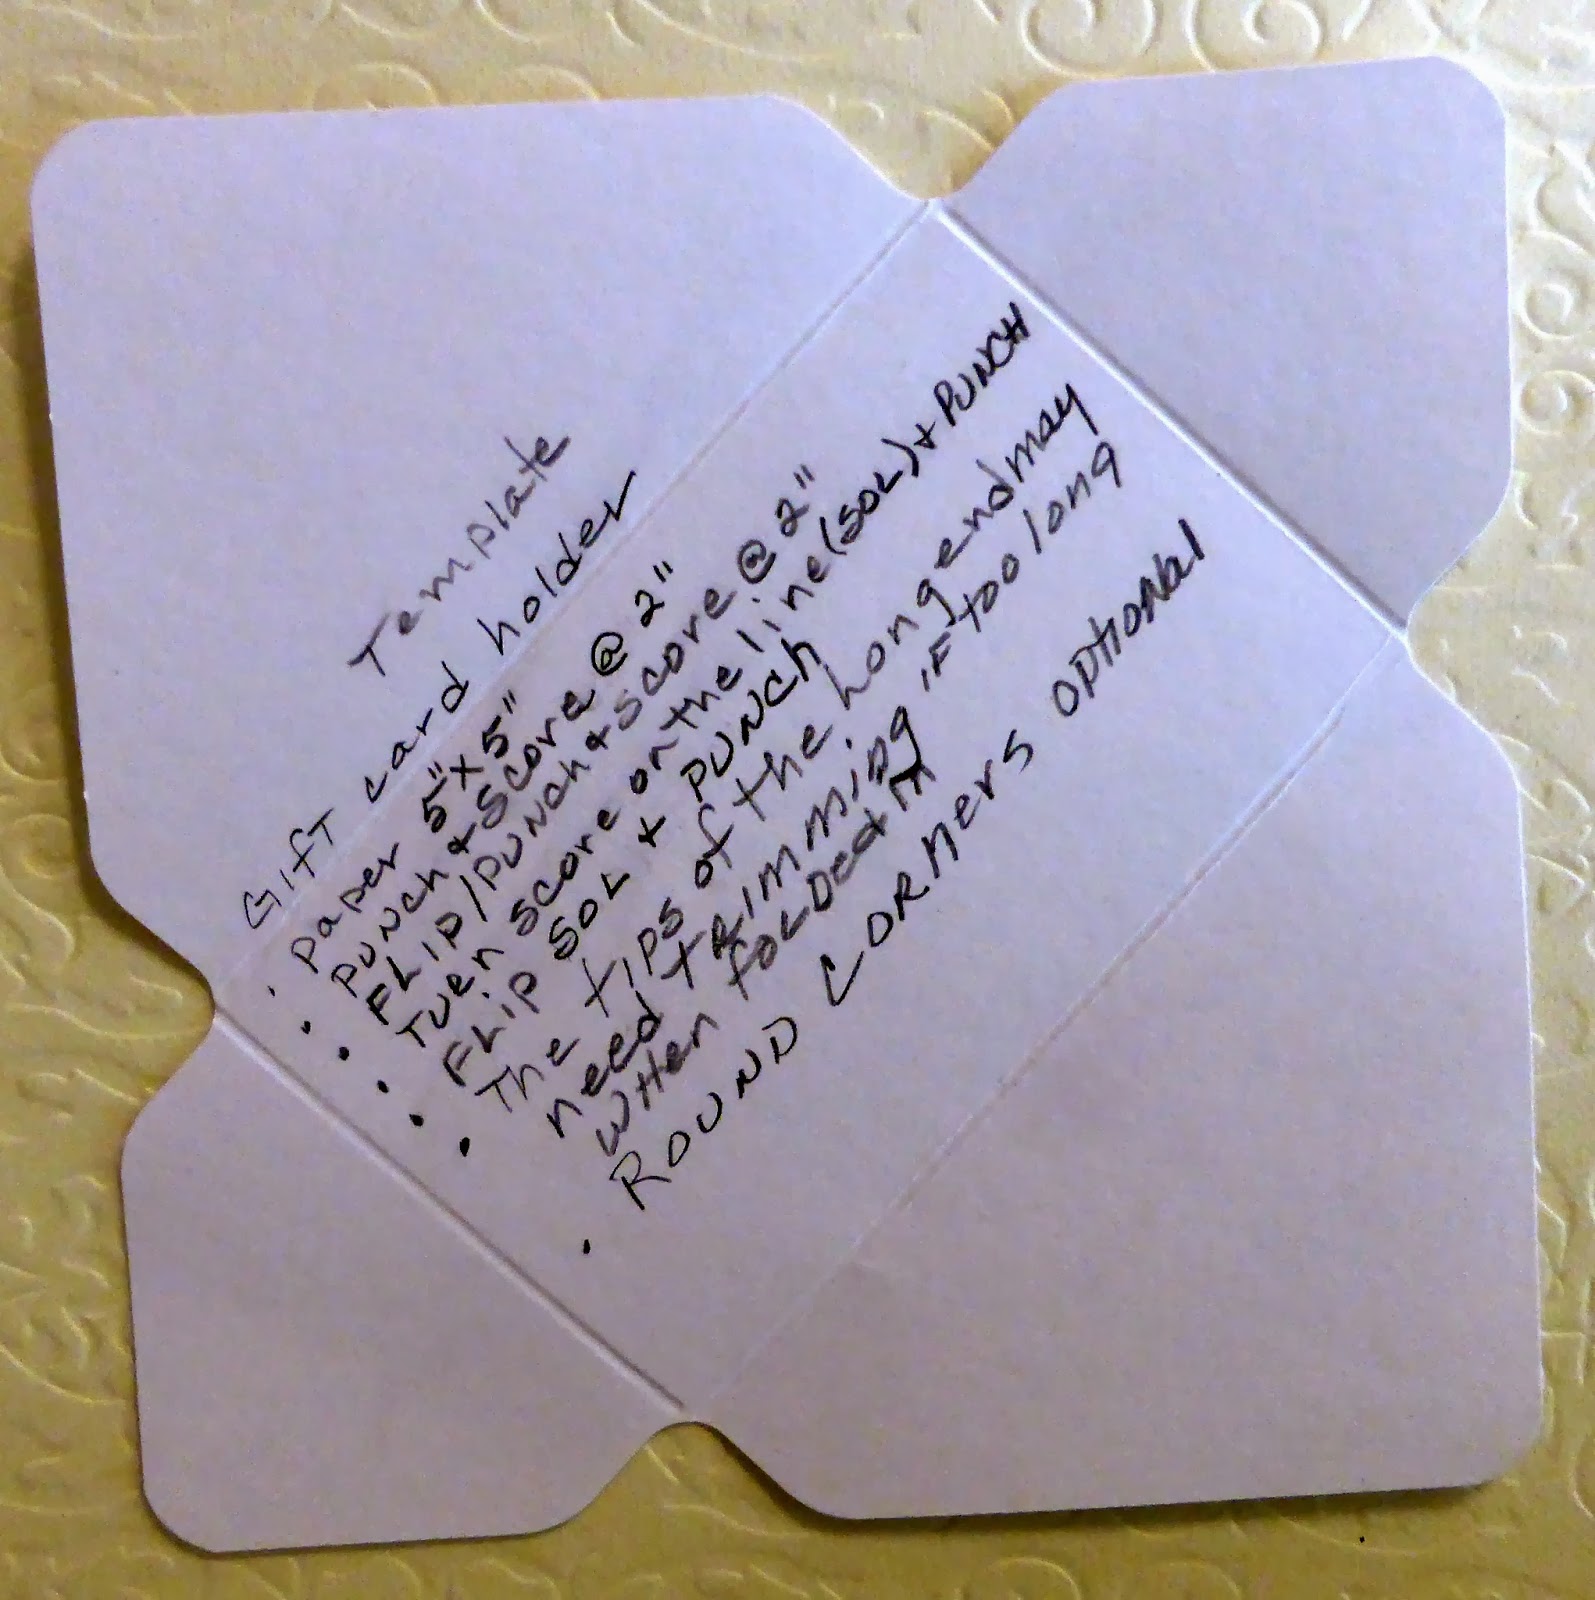
Gift Card Holder
 |
| by Sharon Wolvin |
- 5" x 5" paper size
- Punch and score at 2"
- Rotate 90-degrees; line up score line with notch; punch and score
- Repeat Step 3 two more times
- Optional: round corners using punch at top of punch board
- Note -- If you tie a ribbon around the Gift Card Envelope, you can secure the top flap by tucking it into the ribbon band
Tea Bag Holder
 |
| by Sharon Wolvin |
- 5-1/4" x 5-1/4" paper size
- Punch and score at 2-5/8" mark
- Rotate 90-degrees; line up score line with notch; punch and score
- Repeat 2 more times
Reese's Peanut Butter Cup Box
 |
| by Sue Moffat |

Match Box
 |
| by Marj Marion |
- 6" x 6" paper size
- Score and punch at 2"
- Rotate paper 90-degrees; score and punch at 3"
- Rotate paper 90-degrees; score and punch at 2"
- Rotate paper 90-degrees; score and punch at 3"
- Fold over one of the smaller flaps; line up the score linear 1-1/8"
- Using the paper snips, cut the tabs on the bigger flaps
- Fold the first score line; repeat all the way around paper
- Fold in flaps and add adhesive
- Adhere flaps to make sides of the box, starting with the SMALLER flaps
- Attach tabs to longer flaps; then adhere flaps to make the sides of the box
TOP
- 3-3/4" X 6-3/4" paper size
- Score at 1-1/4", 2", 4-3/8" and 5-1/8"
- Use adhesive strip on the longer flaps
- Place tray inside, and then bring card stock around and adhere
The liner inside the box is 3-5/8" x 2-1/8"
The paper to decorate the top is 2-1/4" x 3-5/8"
Bow
 |
| by Sharon Wolvin |
- 3 Strips of Paper
- 1" x 6"
- 1" x 4-1/2"
- 1" x 1/4" (optional)
- Middle Strip (1" x 4-1/2"):
- Align with the 2-1/4" measure and punch
- Rotate the strip 180-degrees and align with the 2-1/4" measure and punch
- The punches should be on both sides of the strip in the middle
- Line up the narrow end of the strip with the punch and punch to make ribbon tail; repeat for the other end of the same strip.
- Longest Strip (1" x 6"):
- Align with 3" measure and punch
- Rotate the strip 180-degrees and align with 3" measure and punch
- The punches should be on both sides of the strip in the middle
- Round the 4 corners of the strip with the corner-rounding punch (reverse side of the punch at the top of the board)
- Using a bone folder, loosen the paper fibers by curling each end from the underside
- Place a glue dot on the end of each strip on the backside leaving a very small space between the dot and the end of the strip
- Loop each end to the center of the strip (line up the edges so nothing shows) and adhere at the center, making the bow loops
- Line up the center of the looped bow strip to the center of the middle flat strip and adhere.
- You may wrap the small strip (1/4" x 1") around the center of the bow; or, use an embellishment of some type in the center of the bow.
I am missing some vital information on the medium and larger size bows; as soon as I have that information, I'll share it here on the blog.
There are more project and designs . . . those will be posted in another day or two. Please remember these instructions are the steps our staff took to make the project; there are variations of the measurements for the same projects all over the internet. With experience, you'll find which measurements fit your style the best. There is an abundance of information on the internet.
Come in and see the 'spring themed' tables that Patti has put together. We really appreciate her flair for table-top displays and decor.

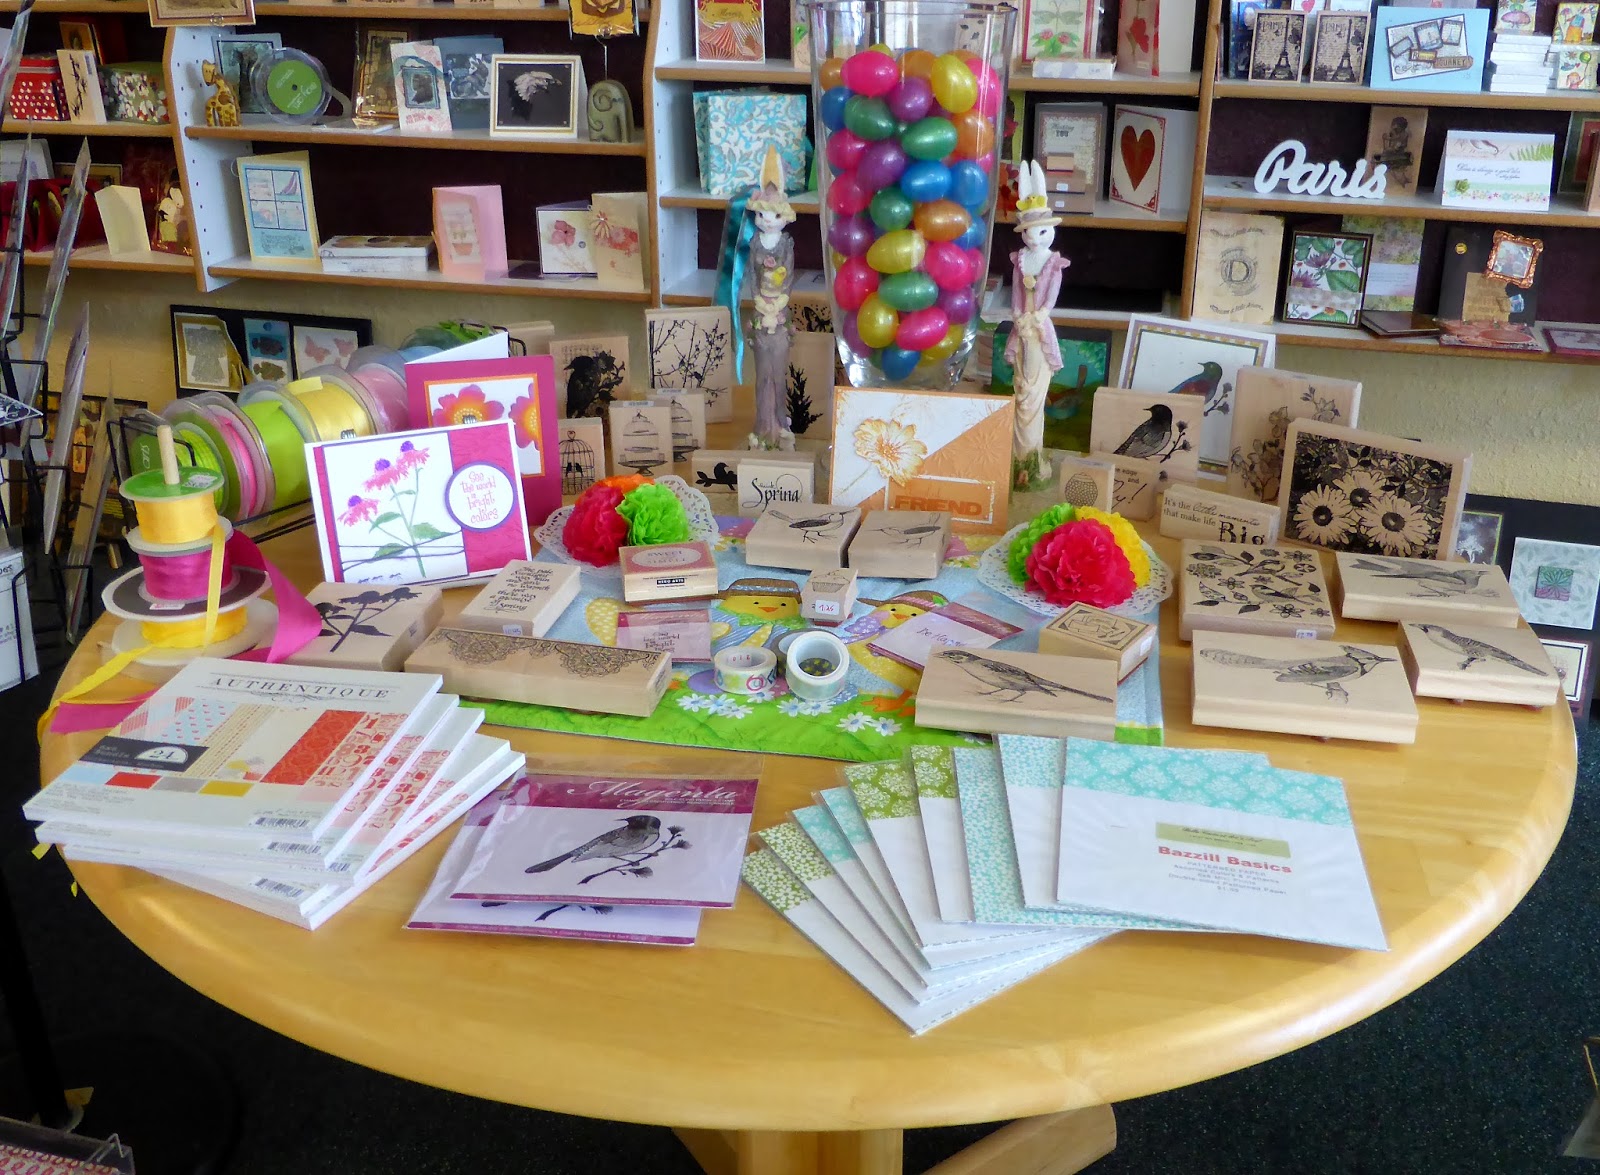


New papers arrived Friday from Graphic 45 and KaiserCraft. They're just waiting for you!
 |
| 6x6 background paper pad |
 |
| 8x8 paper pad |


From KaiserCraft . . .


Time to rein in my pumpkin carriage . . . we'll see you tomorrow! Stop in and say 'hi' to Marj! And Sam and Judy . . . aloha!

No comments:
Post a Comment