 |
| Patti Highlander & Dianne Johnson Art 'n Soul |
At Inchies Club last month, we learned how to make that package bow I told you about a few days ago. Here are the bows everyone made that night . . .
 |
| by Sam Lee |
 |
| by Marilyn Dawson |
 |
| by Linda Beveridge |
 |
| by Sue White |
 |
| by Sue White |
 |
| by Sue White |
 |
| by Sorrento Ward |
 |
| by our newest member of the Inchies Club |
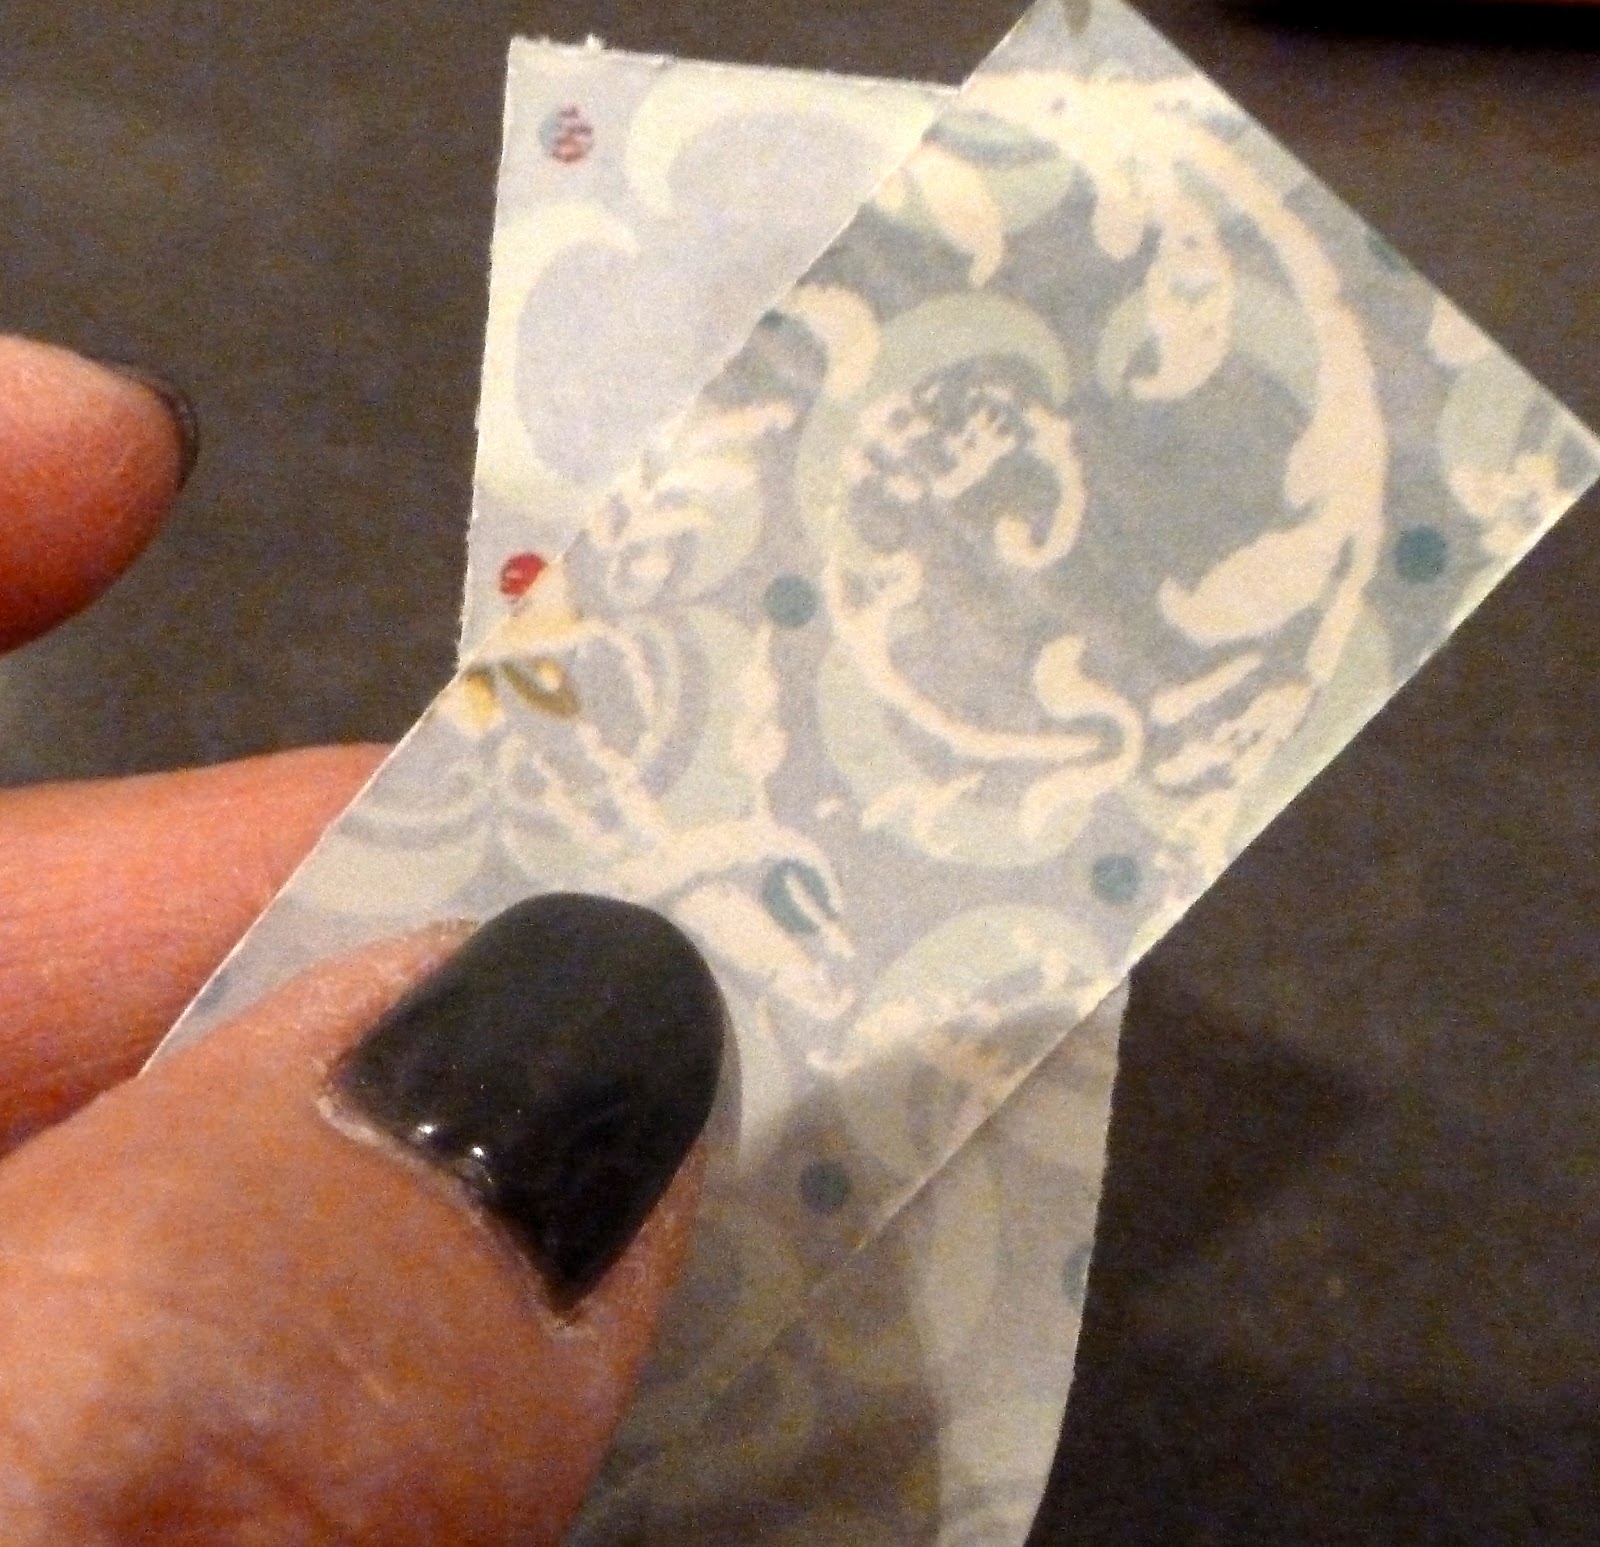
Here's how we were taught to make this bow from scrapbooking paper. You will need:
- 12 x 12 scrapbook paper with a design on both sides
- small paper trimmer
- paper punch
- 1 large brad
- scissors
- quick-drying glue
Trim your scrapbook paper into one-inch strips (1" x 12"). Place the strips into 2 piles . . . 4 strips and 4 strips. Cut the first 4 strips into 8 strips that are 1" x 8"). Cut the second 4 strips into 8 strips that are 1" x 6". Take one of the 4" strips left from the 1" x 12" cut to 8 inches, and place that one aside.
 |
| This is my two-sided 12x12 scrapbook paper. |
 | ||||||
Like this . . .
|


 |
| All of the 8" and 6" strips folded and the tails glued together. |
 |
Punch each of the tail sets, approximately
where they meet in the center. You want to leave enough
room for the stacking but not so much that
there is a wide gap between the layers.
|

 |
You may want to trim the length of the tails
at the bottom so they don't stick out under
the bow points.
|
 | |||||
With the large brad, stack the layers building
down . . . smaller strips first and ending with the
longer strips, alternating the layers between
with the opposite side of the strip being used.


|


|

I hope my directions are clear enough that you'll be able to make this easy bow for your packages. It's a great one to make for any occasion that you're presenting a gift.
Let's thank Jenny Ward for showing Sue White how to make the bow, and thank Sue for walking us through the instructions at the Inchies Meeting.
Now, let's look at the Inchies we exchanged . . .
 |
| by Sorrento Ward |
 |
| by Sorrento Ward |
 |
| by Linda Beveridge |
 |
| by Linda Beveridge |
 |
| by Sam Lee |
 |
| by Marilyn Dawson |
 |
| by Marilyn Dawson |
 |
| by Marj Marion |
 |
| by Debbie Gaetz |
 |
| by Sue White I couldn't select just one to show . . . Sue wtaercolored the backgrounds and then sketched in the the drawings with a black Sharpie pen. |
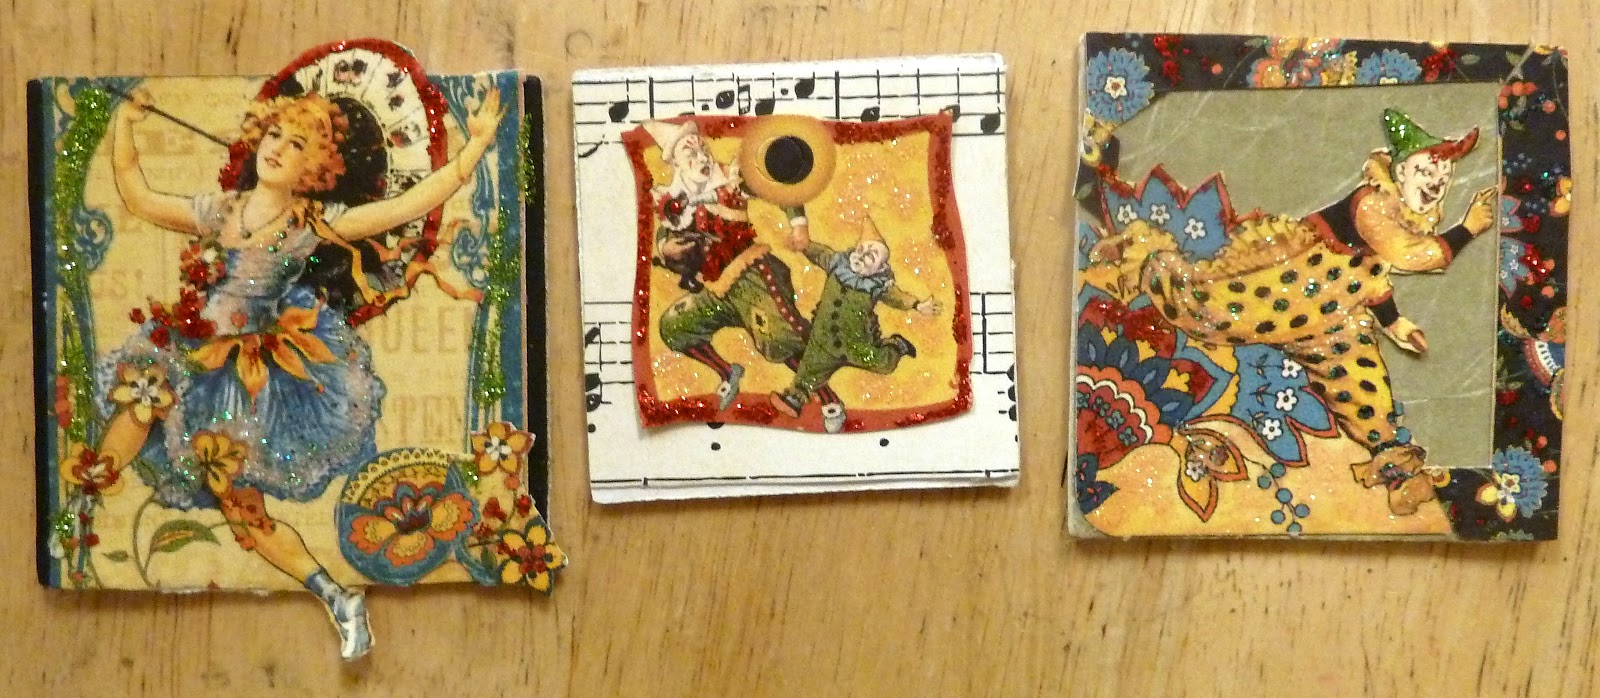 |
| by Sue White a series of intricate cut and embellished Inchies from a former paper collection from Graphic 45 |
 |
| by Marj Marion A special card Marj made for the Inchies Meeting featuring a word stamp from Magenta |
By the way, Inchies Club will not meet again until it's regular date in January, the 4th Wednesday of January (January 23, 2013) from 6:00 to 7:00 p.m. We hope you'll mark the date on your new 2013 calendar now so you won't forget!
From Spellbinders' . . .
| Versatility of Nestabilities® dies |
| by Beate Johns |
"The coming week is all about Nestabilities® dies. When I saw the first Nestabilities shapes my love affair with Spellbinders™ began. I sold all my punches (do you remember those big heavy circle punches?) and got all the shapes and matching scallop dies. And so my collection began.... In my video today I want to show you a few different ways you can use Nestabilities dies on your cards, with a quick tutorial on how to create a telescoping image card.
| by Beate Johns |
Spellbinders™ Paper Arts Supplies:
- Spellbinders Grand Calibur® Machine
- S4-166 Standard Circles SM Spellbinders™ Nestabilities®
- S4-292 Beaded Circles Spellbinders™ Nestabilities®
- S5-089 Home Sweet HomeSpellbinders™Shapeabilities®
- LF-126 Grand Squares Spellbinders™ Nestabilities®
- LF-127 Grand Scallop Squares Spellbinders™ Nestabilities®
Preferred Promotional Partners:
- Flourishes - A Season of Celebration, Trimmed with Love
- Want2Scrap - Beautiful Bling Borders - Fancy That!, Sleek Strip Silver Rhinestones<
Cross Promotional Partners:
- Bazzill Basic Paper - Timeless 6" x 6"mini prints, Sea Salt Cardstock
- May Arts - White Organdy Ribbon, pom-pom ribbon
- Scor-Pal® - 1/8" wide Scor-Tape, Scor-Mat
- SCRAPBOOK ADHESIVE BY 3L™ - Foam Adhesive Squares
Others: Sewing machine, sanding block, blending tool, white and brown cardstock, blue and brown ink, iridescent ice embossing powder, heat gun, button, silver cord
Here is a close up look at the layers:
Thanks so much for stopping by! I hope this inspires you to create with your dies today! Have a wonderful day and weekend.
Hugs and smiles"
From Cheery Lynn Designs . . .
"I created a holiday card with the stamps and inks I received.
 |
| by Jodi Baune |
I started by stamping the The Snow Cardinal with Prussian Blue on white cardstock. I cut the my card 3.5 inches x 6 inches and extended to 4x7 inches on the bottom to make my folds. I stamped the background paper with the Musical Border using Warm Red ink. The card base and matte were cut using the Mini Pearl Rectangle Reflections Mega Dies. To the right of the image, I added a portion of the O Tannenbaum X-mas Tree, adding color and filling in the scene. On the first fold, I added the Garden Gate(distressed with Chestnut Roan), adorned with the Christmas Light Swag. Pine Branches in the top corner add more color and texture. Snowflakes flutter about.

Snow flowers #1 dress up the sentiment stamp (Love & Cheer), stamped in Dark Moss.
Supplies From Hampton Art:
Chestnut Roan-SN71403
Warm Red-SN71417
Prussian Blue - SN71407
Dark Moss - SN71401
Snow Cardnial J - PS0700
Love & Cheer H - PS0718
Musical Border - PS0670
I hope you have enjoyed our venture with Hampton Art this week! Be sure to browse back and see the gorgeous inspiration my teammates my created for you this week.
Also, head over to Hampton Art and elxpore the fabulous ways they have used our dies!
There is still time to enter this weeks challenge for your chance to win the $20 gift certificate!
Thanks for stopping by!!"

That's all for tonight on the blog. I'm now going to play "elf" and start decorating the house. Now that we're home for the remainder of the holiday season, I'm hoping to carve out more time for artistic endeavors.
No comments:
Post a Comment