Tomorrow (Saturday), Lynell Harlow, owner and creator of Dreamweaver Stencils, will be at Art 'n Soul to demonstrate using the various products and tools from Dreamweaver Stencils. And her husband, Wayne, will be demo'ing zentangling inside the Dreamweaver Stencil designs. All of this goes on while the Dreamweaver Stencils Trunk Show continues! Lynell and Wayne are making a special trip from her home in California to be at Art 'n Soul on Saturday. We hope you'll make a special trip to Art 'n Soul to welcome Lynell and Wayne; and observe the many ways Lynell creates magic with Dreamweaver Stencils designs and products, and several of her quick, easy tips and techniques!
Yesterday, our Marj Marion was featured on the Dreamweaver Stencils' blog. Yay for Marj!
Thursday's Dream Schemes/Last Week's Blog Hop Winners and What's Ahead for August
 |
| by Marj Marion for Dreamweaver Stencils |
"It's Christmas in August here at Dreamweaver Stencils. This month we'd love to have you join our August challenge with one of your own Christmas creations! Today I am posting a beautiful holiday card made by Marj Marion of Olympia Washington. Marj and I are kindred spirits....we both have a background in home economics, love to stencil and our husbands are nature lovers (both named Wayne BTW). How that last thing happened I'll never know, but it was amazing when we found out they had something in common as well.
First Marj did a watercolor wash in the background, this laid the groundwork for the Canadian Geese stencil (LG687) to be paste-embossed in the regular matte white Embossing Paste (DEP). Once the geese were dry she stenciled them with ink and last but not least the stamped vegetation, watercolored hills and paste-embossed birds were all given just a touch of glue and crystal glitter for a snowy sparkle to give it that holiday feel. The Season's Greetings (LS91) was paste-embossed with Glossy White Embossing Paste (DGWP) and then while it was still wet the crystal glitter was sprinkled on generously. Tip for the day: the glossy pastes hold the glitter better than the matte pastes."
And Lynell featured Art 'n Soul and her scheduled Saturday demo on her blog today!
Demonstration in Olympia Washington on Saturday
 |
| by Wayne HarlowZentangled LG740 butterfly by Wayne: May Arts Ribbon |
We are presenting three dies to complement our stencils and this bare branched tree can be done many different ways. Call the store for times and directions on how to get there: 360-357-6820."
 |
| Die of tree DX7020, Winter LM296, snow LJ878 |
 |
| Go Green LX7000, Die of bare tree DX7020, stencil of bare tree LX7020 |
 |
| tree die DX7020 bird words LG738 bats LL525, background LJ915 |
Rubbermoon's Facebook posting supports our love for everything washi tape!
 |
| "Custom made washi tape! Made with paint, ink and Rubbermoon Stamps!!" |
 |
| "And one more strip of 'washi' tape made with the New Moon stamp!!" |
From the Memory Box Facebook posting . . .
 |
| by Olga Vasilieva for Memory Box |
"A fresh, pretty birthday card designed by Olga - on Outside the Box today. http://


Today was a day for birthdays. Two birthdays were celebrated at a last-minute lunch gathering by family and extended family. So I had to find a way to make two cards rather quickly.
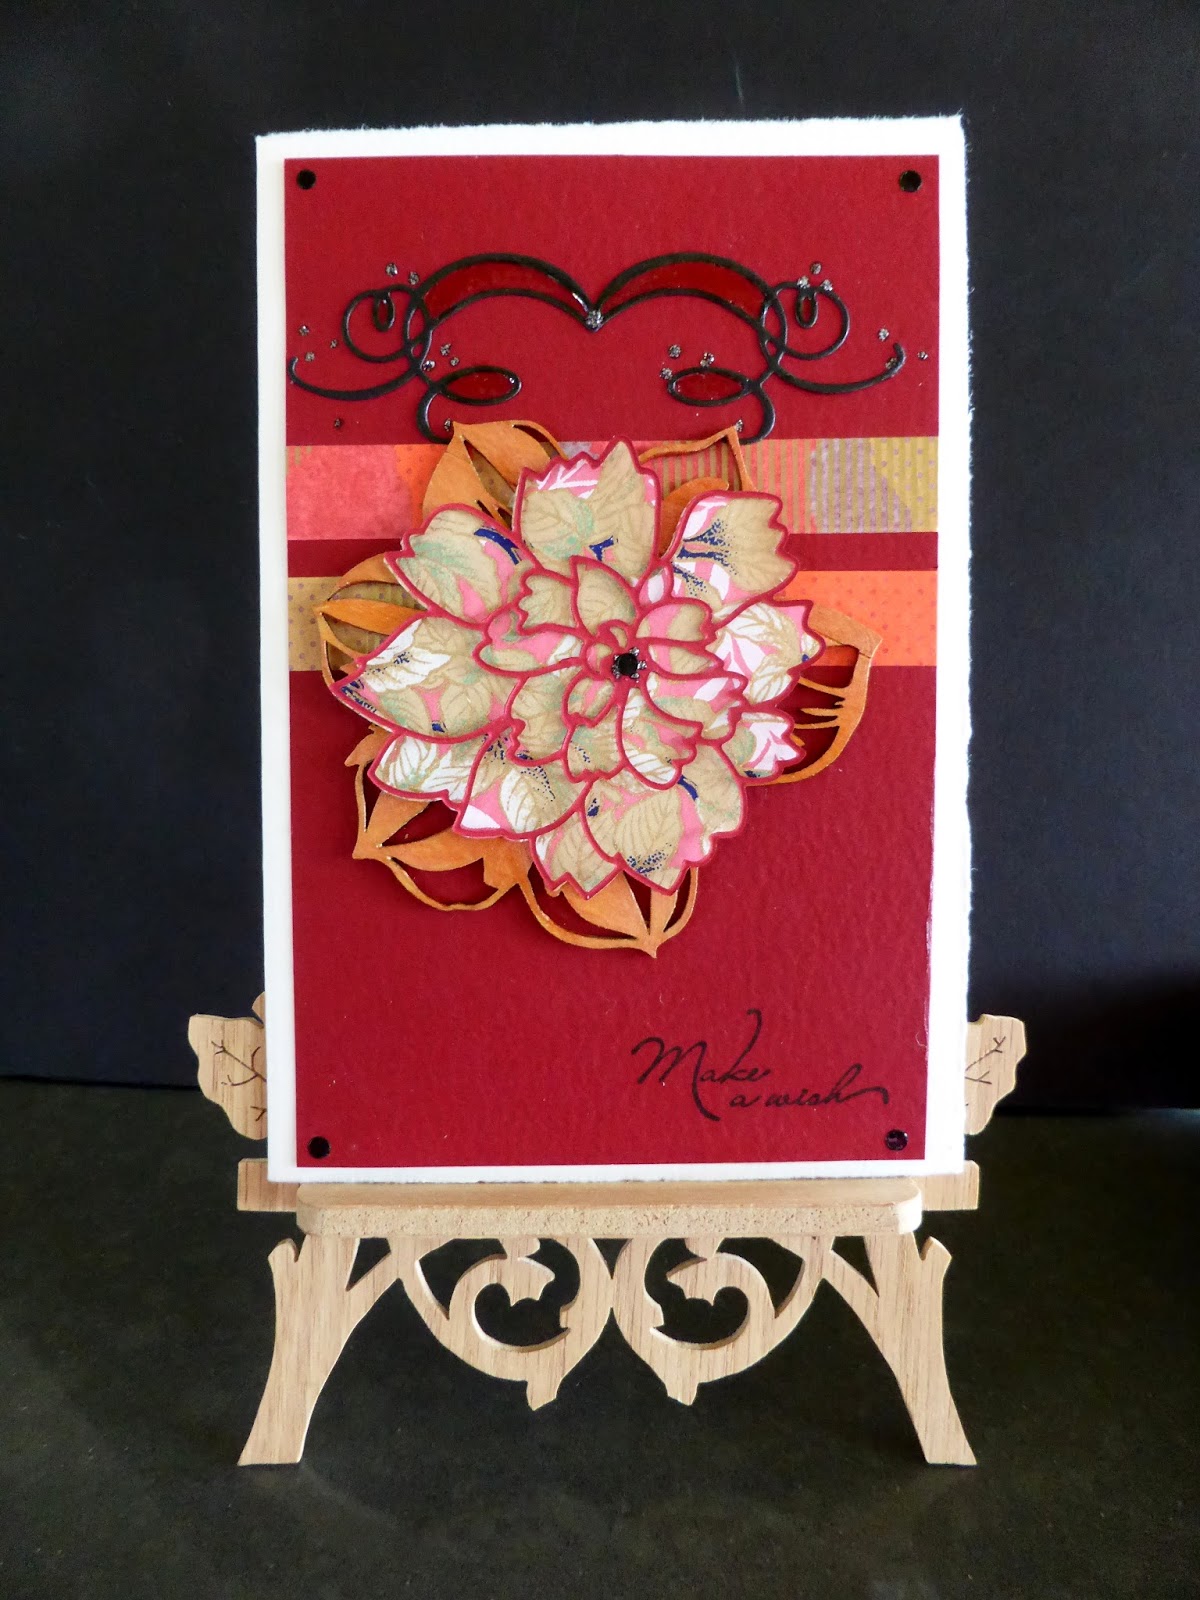 |
| by Debbie Gaetz |

I grabbed a blank card from my Fabriano stash.
I applied washi tape to a Prismatic card stock; I kept the lines straight
by scoring two lines with my mini Martha Stewart score board and using
those lines as a guide when I laid the washi tape down.
I mounted the Prismatic paper to the blank card front.

I had a couple of left-over die cuts from Memory Box that
I had used in a class. I laid down the flourish die cut using
Glossy Accents as an adhesive; I also filled in a few of the
closed loops on the flourish with Glossy Accents for a little
added dimension. I added little specks of black stickler
around the flourish as well.
I found a wooden flower die cut from KaiserCraft.
Using my Luminarte Silks acrylic glaze, I quickly brushed the Ginger
Peach and Oyster Silks onto the wood piece. That was
adhered to the card top as if it were hanging from
the flourish.
I glued the Memory Box floral and overlay die cuts to
the wooden flower. I only attached the overlay at the
center so it would not lie flat against the base floral die cut.
The base floral die cut is made from a scrap of
washi paper; the overlay die cut is from the same
Prismatic card stock as the base card top.
The sentiment (Make a Wish) stamp is from Inkadinkado.

For the other birthday card, I had to think up something quick and appropriate for a 42 year-old young man who is a firefighter, great husband and terrific dad to 2 young sons. He's not into any kind of fluff; he's down-to-earth basic with a great sense of humor so I felt I needed to keep the card design simple.
To a white ultra-thick card stock from Magenta, I scored 2 lines and applied washi tape before applying it to the base card. I found my stash of Scrabble tile letters and spelled out his name: DARWIN.
 To keep the letters straight and as centered as possible, I laid out the tiles where I thought they should be and took a photo of the layout with my iPhone. Then using the photo and color blocks on the washi tape as my guides, I applied the tiles with Zots. I laid down every other letter and then filled in.  |
| by Debbie Gaetz |

I took a small piece of veneer wood that I had
purchased in bulk at a paper sale in Seattle some
time back and punched corners with my 'use it all of the time"
Heritage Corner punch. I wanted to keep the wood
look on the corners since the letter tiles were wooden.
Then I went into my Candi stash and found black and
white Candi's that had typewritten random text on them
that I thought would be appropriate with the Scrabble letter tiles.

That was all I had to do. The two cards were made in record time. I finished so quickly that I had time to make a quick gift box for Julie's earrings.
Using the LifeStyle Crafts Mini Pizza Box die, I die cut a piece of Webster's Pages card stock using the LifeStyle Crafts Genius Plate system on my Big Shot machine.
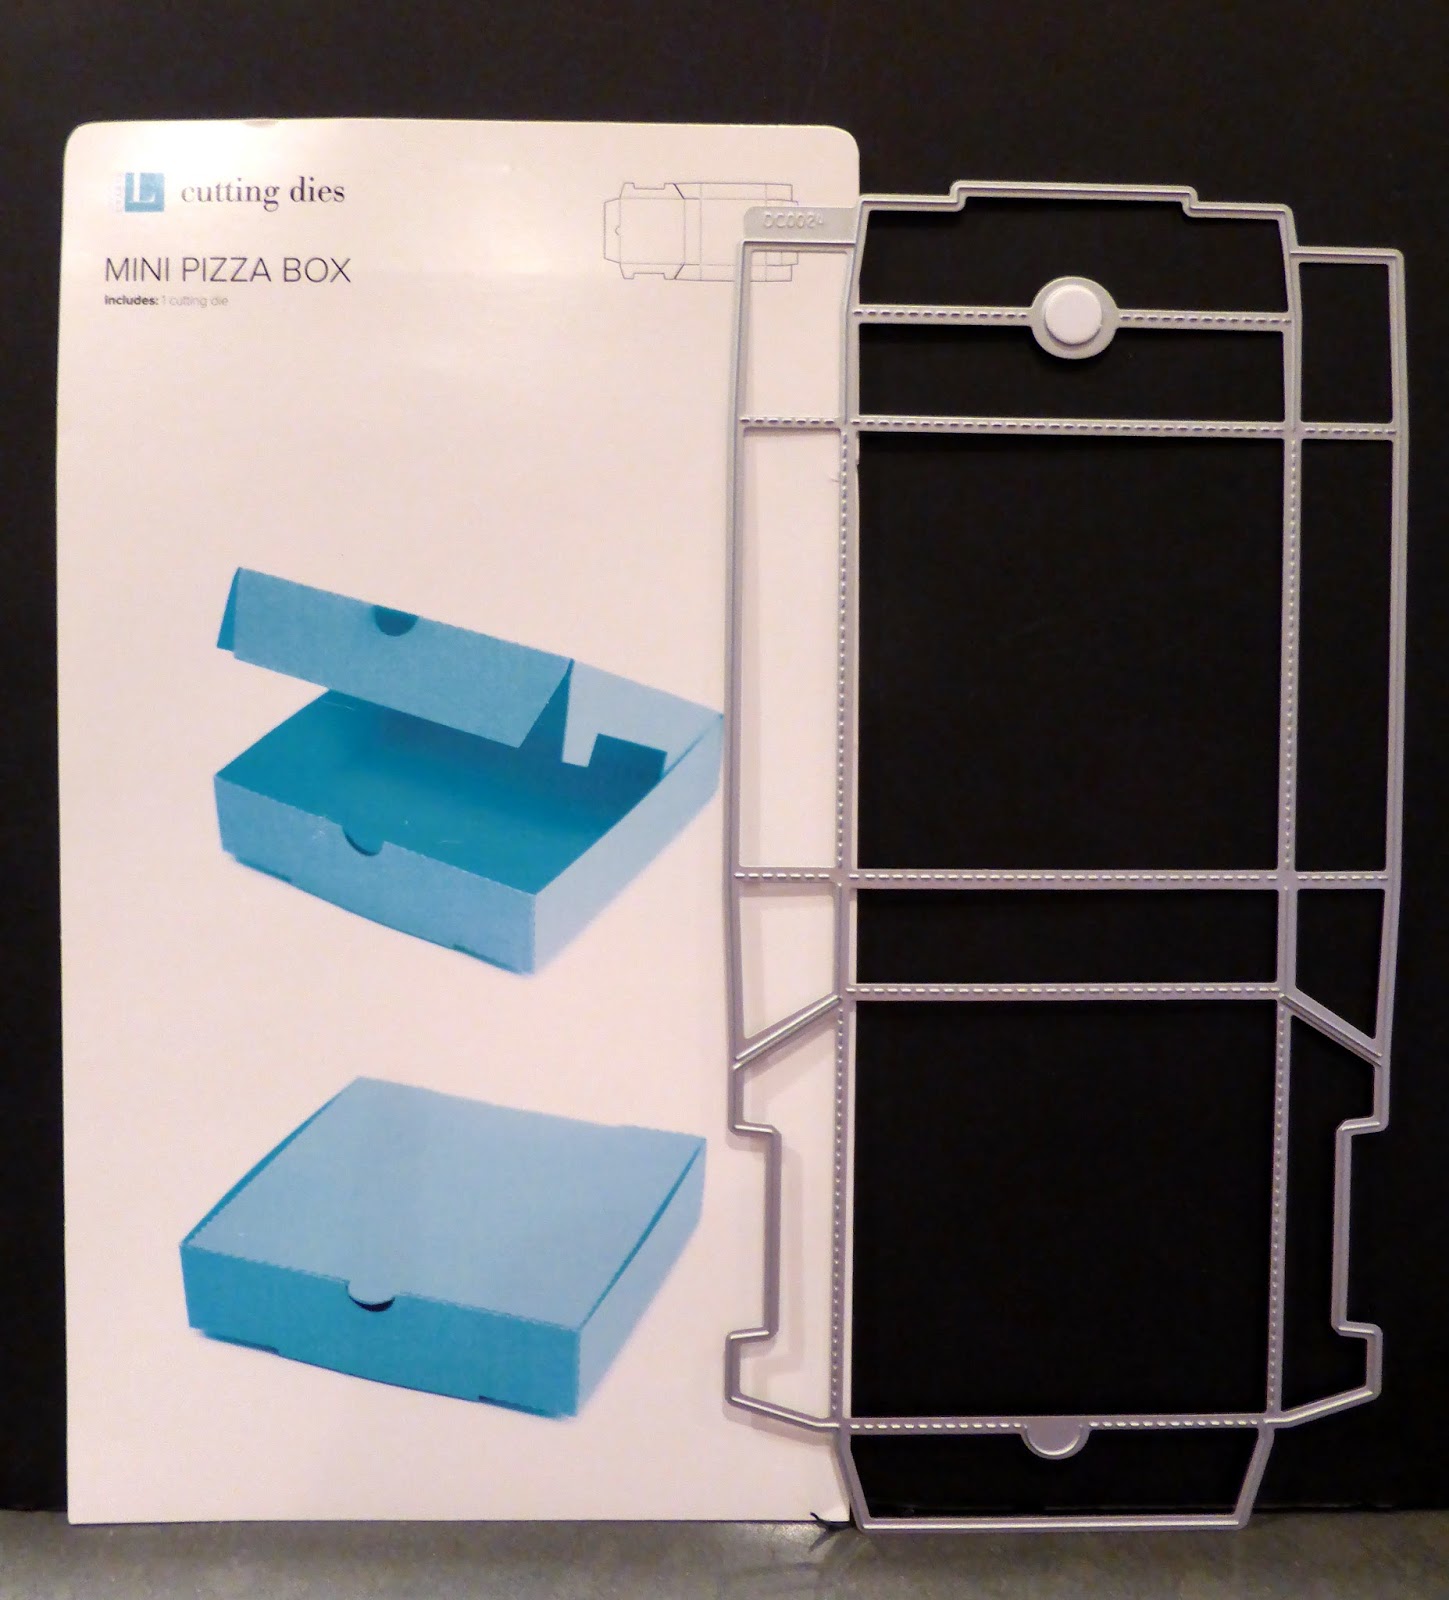
The die-cut easily folded into the cutest little gift box.


All I needed was a small-width ribbon to tie around the
box and . . . voile!
The next time you have a last-minute card to make, look around at your scrap stash. Often times, I'll end up with extra die cuts because what I started out making changed three times and ended up not using them. I have a box of nothing but left-over die cuts for instances just like this! And there's nothing that you cannot do quickly when you have a good stash of washi tape! Everything I used, with the exception of the Scrabble letter tiles, was purchased at Art 'n Soul.
I will close for now. Tomorrow, I'll share another IMAGINE Crafts®/Tsukineko® Artist-in-Residence theme project featuring the Halloween papers from Authentique.
August is a good month to share creativity and loads of fun at Art 'n Soul. You're invited to stop in anytime and often, for . . . you're the reason Art 'n Soul is the 'go to' place for the best in fine art rubber stamping, art supplies, beautiful papers and ribbons, and classes featuring traditional and latest techniques in artistic adventures.
No comments:
Post a Comment