Embossed Metal Mini Book
"I have to admit that mixing metal and bookmaking are two of my favorite passions! Although this is a very simple book with no real book binding involved, it was a pretty quick and easy project to complete and got the creative juices flowing!
 |
| by John Creighton Petersen |
To begin with this project, I put IMAGINE Crafts’ ATC sized SHEET Metal pieces through my Spellbinders Grand Calibur machine using the Spellbinders M-Bossabilities Enchanted folder- YES, I did put the metal through and didn’t crack a plate or jam the machine! Believe me when I say, don’t stray from your Grand Calibur! I have in crafting desperation moments (we’ve ALL had those!) and either cracked a plate or actually broke the machine- no names will be given, just trust me on this one.

Now it’s time to start coloring our SHEET Metal! Using an Inkblusher from IMAGINE Crafts, I picked up Tsukineko’s StazOn Olive Green solvent ink and began coloring the metal. After the ink had dried completely (3 to 5 minutes air dry time) I applied a thin layer of IMAGINE Crafts’ GlazOn layer protectant. GlazOn will keep the following layers of StazOn colors from blending together, especially with this color combination. NOTE: you can speed up the drying time of the StazOn on the metal by using a hair dryer. I use a hair dryer instead of a heat tool because you want to avoid getting the StazOn too hot or it will become tacky and you’ll end up with a mess at the end.

StazOn Timber Brown is added onto the metal using an Inkblusher to highlight parts of the pattern embossed into the metal. With each subsequent color I’m adding onto the base color of Olive Green, I add less and less ink. Once dried, add another layer of GlazOn layer protectant.

Time to make this metal POP a little more with StazOn Royal Purple applied with and Inkblusher. Again, I’m using the Royal Purple to just highlight the pattern and to add some depth and contrast to the Olive Green. Once dry, add another coat of GlazOn.

At this point you can leave your metal piece as is (piece on the right) OR to give it that antiqued look you can use a sanding block to LIGHTLY sand across the top of the embossed pattern! Remember to sand gently like petting a kitten- as I had one student sing in class when I said this “Soft kitty, warm kitty….” LOL It’s best to sand a small section of metal at a time with one of the corners of the sanding block as opposed to using the entire side of the block and sanding the entire piece of metal at one time.
Repeat the above steps to create a front and back cover for your book.
To finish the book, I cut a few pages of text weight paper a little smaller than the size of the metal pieces. I used a 1/8 inch hole punch to make the holes in the pages AND the metal pieces- get out, yes you can use just a regular hole punch through the SHEET Metal pieces! Bind everything together with a couple of binding rings and you’re good to go! Add a few pieces of ribbon onto the rings for a little bit of embellishment.
Hope this gives you some inspiration to try coloring and embossing your own metal for your next project!"
From Spellbinders . . .
| Simply One of a Kind Card |
| by Monika Martinson |
"Hi everyone! It's Monika Martinson, from Sweden, with my monthly International post. I hope you are having a fine day so far. Today I´m going to share a simple, yet stylish card, I made with the Spellbinders M-Bossabillities®
 |
| by Monika Martinson for Spellbinders Paper Arts |
Spellbinders™ Paper Arts Supplies:
- Spellbinders Grand Calibur® Machine
- EL-018 Spellbinders M-Bossabilities Framed Labels ONE
- S5-109 Spellbinders ShapeabilitiesVintage Lace Motifs
Preferred Partners:
- Kaisercraft Rhinestones and pearl brad
- Kaisercraft Rub ons
These are the simple steps to re create this card:
Start by choosing the pattern you want to use from the Embossing folder. Use some Fluid chalks directly on your embossing folder. Make sure you don’t get color on the label.

I had a piece of blank white paper under my embossing folder while I run it through the Grand Calibur. The folder left just enough of an impression for me to use the paper and cut it along the label pattern to make a mask for my stamp.
Stamp your chosen image and color it with your preferred markers. I used an image from Momas lil´shop of stamps. Attach some rhinestones in the embossed circles of the pattern.

Use your preferred Rub on sentiment, place the Vintage Lace Motifs die on it, cut and emboss.Attach the label and the bow to the card. And you are done! This is the end result.

Thank you for stopping by. Please visit my blog for more inspiration."
Monika
Helene is back with some card samples featuring stamps from Magenta's latest release. Did I mention that Magenta is open catalog right now? If you like what you see here, you're welcome to call the store to place an order if you aren't able to stop into the store soon . . . 360.357.6820.
Card ideas
Some cards ideas from the latest Magenta release...

| Magenta rubberstamps: 40.347.P, 07.730.H Stencil: TM27a Decorative paper: ME 238 Ink: Black Versafine and Memento Stamp in black, color with Prismacolor pencils. Use Memento ink with the template for the background. |
 Magenta rubberstamps: 23.701.K, 07.734.F Watercolor: Tombow markers, US ArtQuest Decorative paper: ME 237 Emboss in black, use Tombow markers and water to create a watercolor effect. Splattered with US ArtQuest watercolor. |
 |
| Magenta rubberstamps: 0630.N, 07.742.I Watercolor: Tombow markers Emboss in black, use Tombow markers and water to create a watercolor effect. |
 |
| Magenta rubberstamps: 13.147J, 07.734.F Inks: Memento On white cardstock, direct to paper with Memento inks, stamp the image with contrasting colors. |
From Cheery Lynn Designs . . .
Corner Medallion
 |
| by Sandy Hulsart for Cheery Lynn Designs |
 |
| by Sandy Hulsart for Cheery Lynn Designs |
I just confirmed my appointment with Mike at Cheery Lynn; Tom and I will be touring their manufacturing plant on Monday morning!
Time to turn in. It was a rather relaxing day. I made my way over to Old Downtown Scottsdale this afternoon and discovered the Frenzy Stamper, a great store that reminded me a lot of Art 'n Soul. They are having an all-day Gelli Art Journal Class tomorrow and she's letting me take the class without a basic kit; I told her I was only interested in the technique. This is the store sample; I have no idea what my Journal will end up looking like by the end of tomorrow but I will share it with you. Please wish me luck!

 |
|
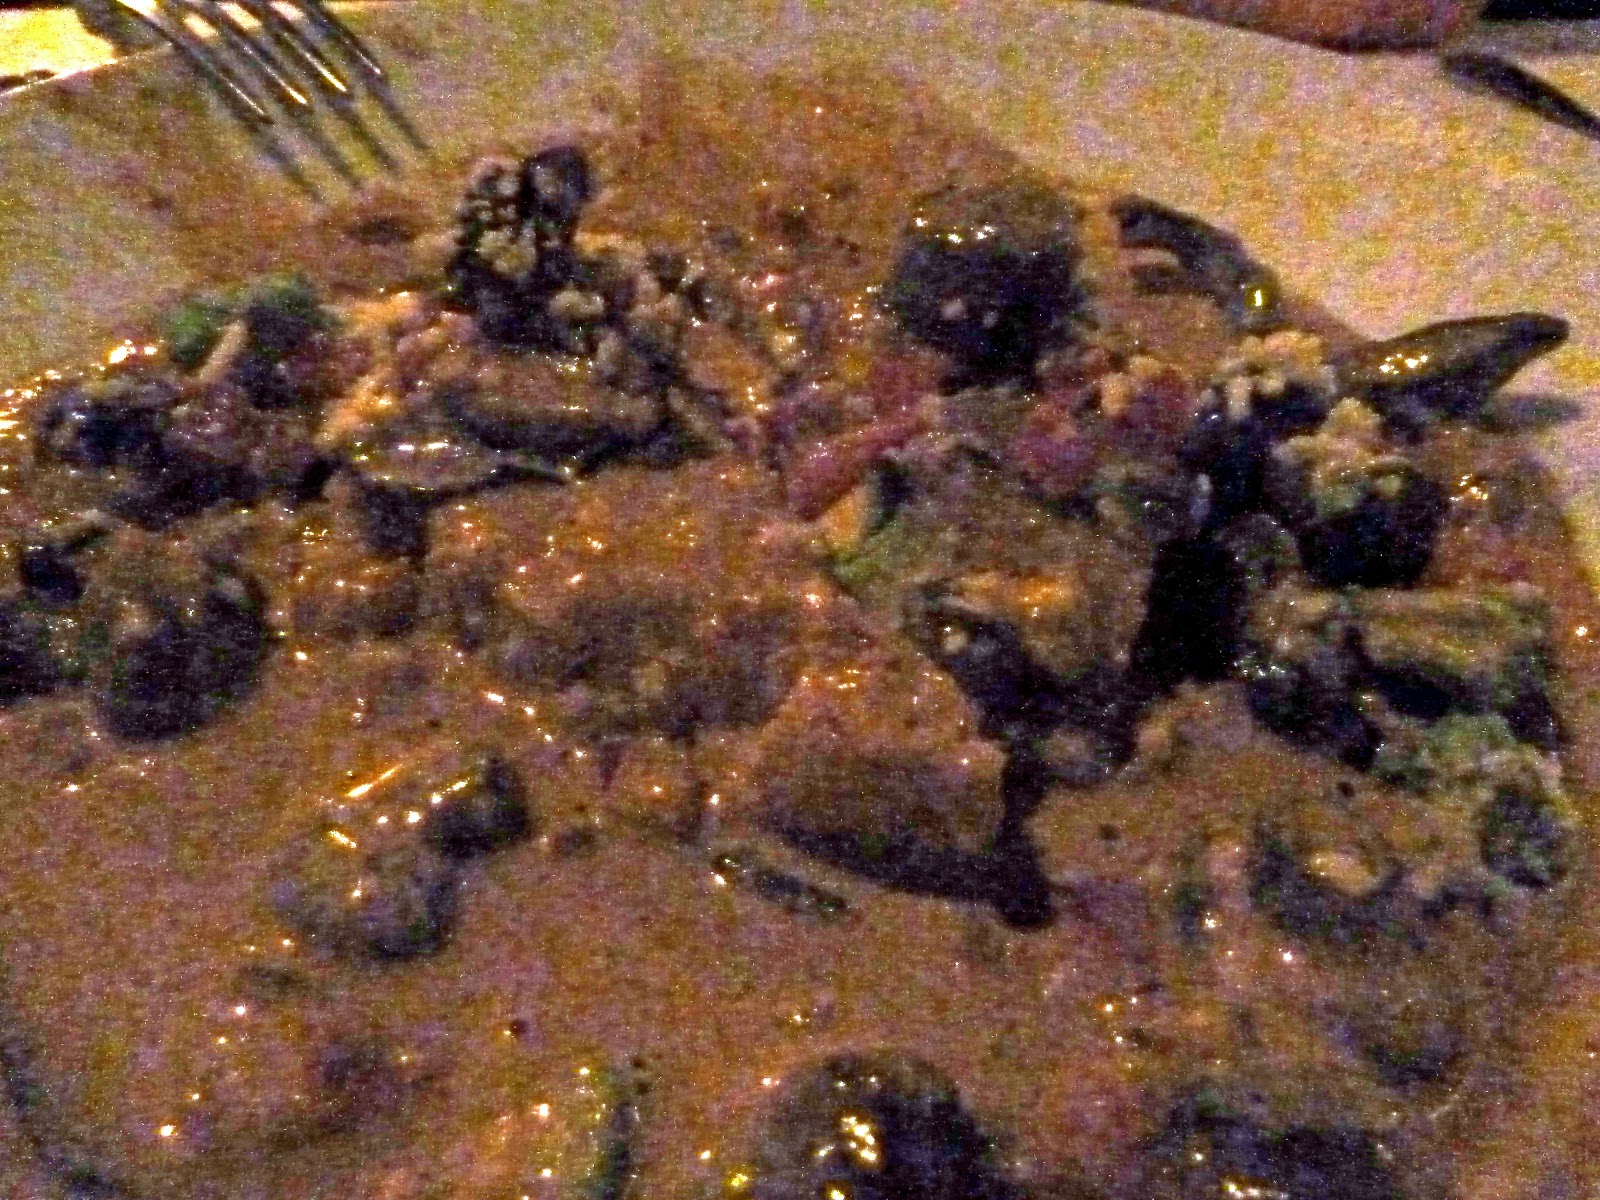
"mucho mushrooms (cremini, button, oyster, cepe, lobster, black trumpet, shiitake, morel, yellow foot) in ancho cream over double-cooked polenta, all topped with grilled portabellini, avocado, Roma tomato and cotija cheese - a staple since 1997" |
Ciao!
No comments:
Post a Comment