All of us at Art 'n Soul are so proud that we have earned the Magenta's Retailer of the Year Award for 2012 . . . our 3rd consecutive year. It's not difficult to earn that prestigious award because of the quality and beauty that Magenta consistently puts into their products!
By the way, Magenta is still an open catalog company right now. Come on in and see their new spring line.
I forgot to mention that with the Elizabeth Crafts Design order, we also received their brand new adhesive-backed velvet paper. I ordered 2 of every color to see what you like. The colors are vivid and the texture is very smooth! That full sheet should provide you with many, many die cuts. In a card sample I saw at CHA, Els had used the bird dies that just came in with the blue velvet paper as one of the papers she used on a card.
 |
| Adhesive-backed Velvet Paper from Elizabeth Craft Designs |
Watch your email in-box tomorrow for the monthly email from Art 'n Soul that includes the updated class schedule. If you're not on our email list, please email us at artnsoul@artnsoul.comcastbiz.net or call us at 360.357.6820 with your name and email address and we'll immediately add you to our ever-growing list.
In my continuing effort to organize my craft supplies, I did find something for my washi tapes at Ikea. This is a very simple dish rack that expands, is very stable, and has little rubber feet on the bottom to make it even more stable. The best part of it all . . . it's only $5.99 plus tax at our Ikea store.
It's the perfect solution to store my washi tapes and when I want to use one of them, I don't have to take 20 of them off the dowel to get to the bottom one!
From Hero Arts, what a beautiful card! I'm anxious to try this technique out!
 |
| "Hero Leafy Vine stamps. Stamp with white embossing powder and color background with shades of blue Distress Ink. Add touches of green marker on leaves and rhinestone gems." -- from Millsrepco |
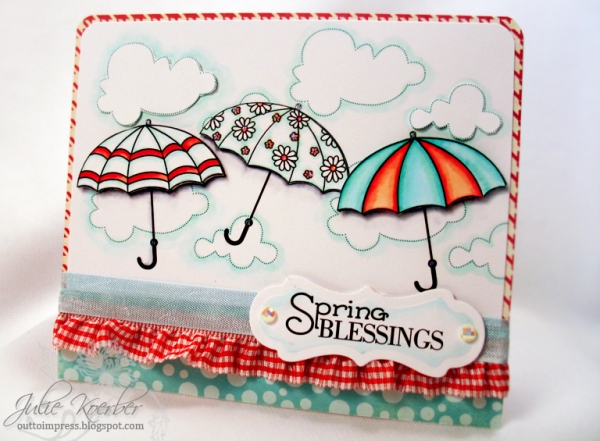
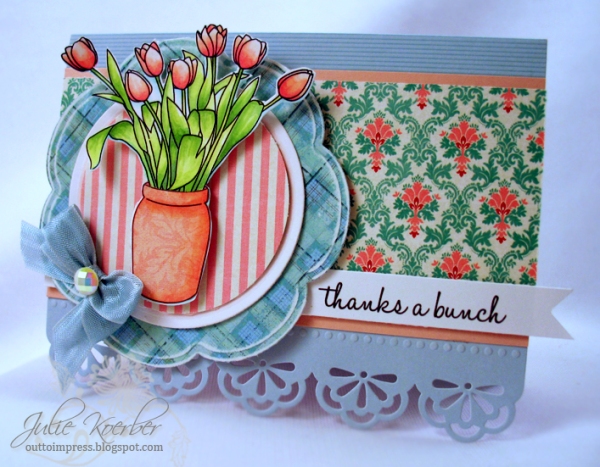
Over at the Penny Black blog, they're showing ideas for spring cards and those April showers!
"Designer Cathy Andronicou created this card with April Showers 30-172
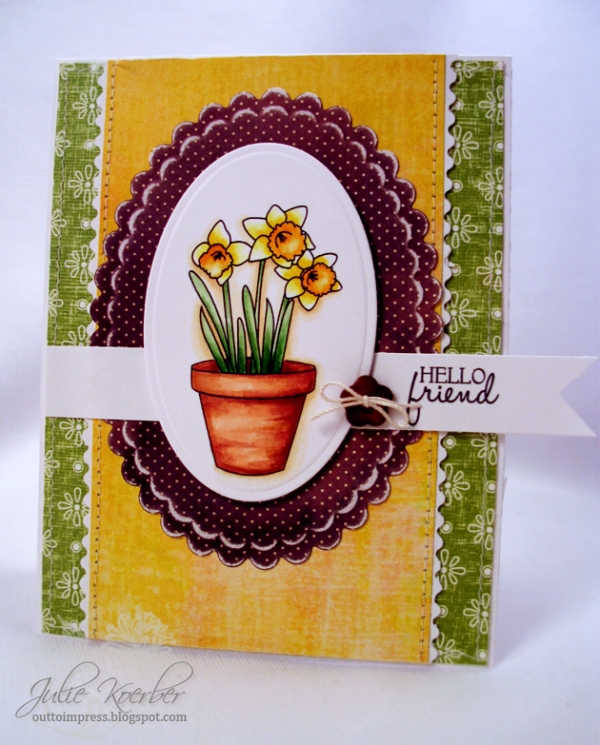
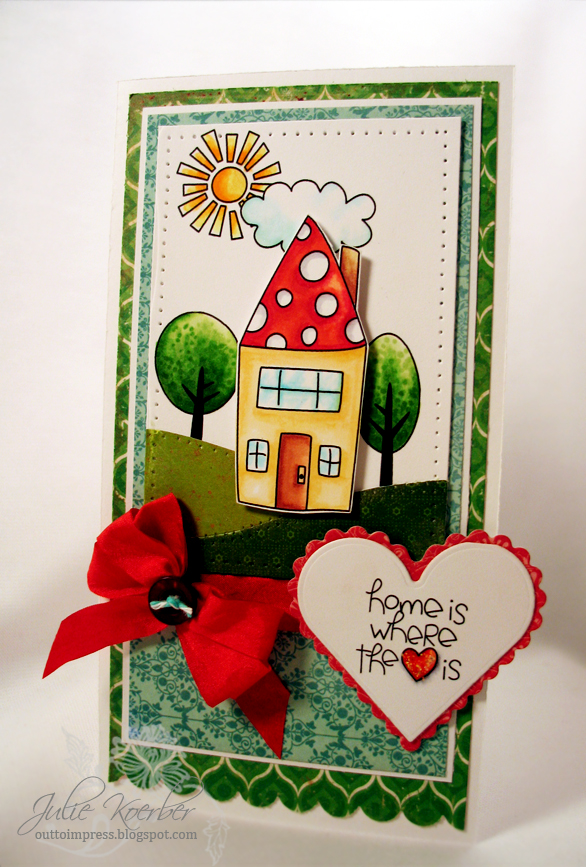
And all of the following lovely cards were created by special guest designer Julie Koerber:"
From Impression Obsession, a beautiful card from Shirley!

"I have no idea if 'lacealicious' is even a word, but it says a lot about how I like the lace stamps in the new supplement. This is another one of a group of cards I am working on.
Tuesday T&T Lacealicious
"I have no idea if 'lacealicious' is even a word, but it says a lot about how I like the lace stamps in the new supplement. This is another one of a group of cards I am working on.
Image:
- Stamped Beauty Roses with Delicata Gold Glitz on white cardstock twice, used heat gun to dry.
- Painted with Twinkling H2O's, cut out, flipped over and embossed with a stylus on an embossing mat. Cut out the center of the top second rose and mounted with 3D pop-dots on the forefront rose.
Die Cut Background:
- Used Spellbinders Ribbon Threader die and Neenah Natural cardstock for the cut and embossed too.
- Placed die over the die cut and stamped Crochet Border 1 with Brilliance Pearlescent Biege, used heat gun to dry the ink.
- Threaded green grosgrain ribbon through the ribbon slots.
- Added pearl stickers and set aside.
Background Cardfront:
- Inked Cover-A-Card Crumpled Lace with Pearlescent Beige and stamped on white cardstock.
- Cut to 4.25"X5.5".
Assembly:
- Mounted the image to the die cut, stamped Thinking of You with Memento Cottage Ivy in the lower right hand corner, and mounted to the Crumpled Lace background with 3D pop dots.
- Added pearl stickers with Glossy Accents so they wouldn't come loose.
- Added bow to flower.
*** - Did you know that if you use Glossy Accents and it smudges, when it is dry you can erase it with a clic non-abrasive eraser pen with no damage to the cardstock or paper. That's one of the reasons I use it like glue for a lot of things when using cardstock or paper."
Shirley
And this beautiful Valentine's card from Linda Lucas, also known as "Lovely Linda" for Spellbinders . . .
Valentine |
| by Linda Lucas |
"Valentine's Day is the perfect time for a special card, although in our house we don't celebrate just on the appointed day, we like to show our love everyday. Beautiful and Elegant cards have never been easier to create since Spellbinders have given us their beautiful products to create with.
Today I am using the new 5 x 7 Detailed Scallops Spellbinders™ Nestabilities® as the Decorative Die for my card, along with some of the basics. I am so surprised how easily intricate looking cards can come together with so little fuss - as you will see!
Spellbinders™ Paper Arts Supplies:
Fold your card stock in half and place it in the 5 x 7 Detailed Scallops Spellbinders™ Nestabilities® with the folded edge just inside the cutting edge - as shown in the photos below. Cut and emboss using the Spellbinders Grand Calibur® Machine.
Stamp the Penny Black® Inc. - bed of roses onto white card using black ink. Colour the image using the colouring medium of your choice - I have used Tsukineko Memento Markers. Cut out the image using 5 x 7 Matting Basics A Spellbinders™ Nestabilities®, using the size 4 Die, you will be cutting off some of the image at the sides, so make sure you center the image to get the best results.
Adhere the coloured image to the inside of the card using Scor-Pal® 1/4" tape. Next attach the front panel/ frame to the front of the card using Beacon Adhesives - Zip Dry Paper Glue, being careful to line up the scallops. I found it easy to start at a corner and work my way around. Place the card under your cutting mat or something slightly heavy, just to keep everything in place while the glue sets and we work on the sentiment,
Stamp the sentiment from the Penny Black® Inc. Cut and emboss the sentiment using theFancy Framed Tags One Spellbinders™ Shapeabilities®, it is always good to use Wax Paper with the intricate Dies, placing the wax side facing into the Die, so that is is easy to remove. Remove the Wax Paper from the Die, reinsert the sentiment into the Die and sponge around the inside edges, using the Die as a Stencil.
Attach the Die Cut sentiment to the front of the card using the Beacon Adhesives - Zip Dry Paper GLUE. Next, cut one (1) Jewel Flowers and Flourishes Spellbinders™ Shapeabilities® in white card and sponge using green ink before removing from the Die. Attach to the left side of the card using Beacon Adhesives - Zip Dry Paper GLUE
Using Red card, cut one S5-086 Bitty Blossoms Spellbinders™ Shapeabilities®, remove from the Die and roll the blossom, starting at the outside edge and finishing by gluing the roll of petals onto the base using Beacon Adhesives - Zip Dry Paper Glue. I have used a small paintbrush to roll my blossoms and then, when the glue is dry, have rolled each petal to give some more shape.
Attach the Bitty Blossoms to the Jewel Flowers and Flourishes Spellbinders™ Shapeabilities® using Beacon Adhesives - Zip Dry Paper Glue. Hold it in place until the glue starts to dry - I have used a Paper Piercing Tool. Finish off by adding Want2Scrap - Baby - LeCreme Pearls to the Scalloped Edges as shown below.
In case you are wondering where you write on this card, I have attached a white layer on the back for that exact reason. I hope you have enjoyed this tutorial and are inspired to create a special card for someone you love, whether it be family or friends - when cards are this easy - you can make one for everyone!"

 |
| by Linda Lucas for Spellbinders |
- Spellbinders Grand Calibur® Machine
- S6-004 5 x 7 Detailed Scallops Spellbinders™ Nestabilities®
- S6-001 5 x 7 Matting Basics A Spellbinders™ Nestabilities®
- S6-002 5 x 7 Matting Basics B Spellbinders™ Nestabilities®
- S5-164 Grateful Lattice Spellbinders™ Shapeabilities®
- S4-377 Fancy Framed Tags One Spellbinders™ Shapeabilities®
- S5-143 Jewel Flowers and Flourishes Spellbinders™ Shapeabilities®
- S5-086 Bitty Blossoms Spellbinders™ Shapeabilities®
Cross Promotional Partners:
- Scor-Pal® - Scor-Tape 1/4" tape
- SCRAPBOOK ADHESIVE BY 3L™ - Foam Adhesive Squares
- Beacon Adhesives - Zip Dry Paper Glue
Others:
- Black Ink, white card stock, red card, Memento Markers, Aqua Pen, daubers, Scissors
Fold your card stock in half and place it in the 5 x 7 Detailed Scallops Spellbinders™ Nestabilities® with the folded edge just inside the cutting edge - as shown in the photos below. Cut and emboss using the Spellbinders Grand Calibur® Machine.
Adhere the coloured image to the inside of the card using Scor-Pal® 1/4" tape. Next attach the front panel/ frame to the front of the card using Beacon Adhesives - Zip Dry Paper Glue, being careful to line up the scallops. I found it easy to start at a corner and work my way around. Place the card under your cutting mat or something slightly heavy, just to keep everything in place while the glue sets and we work on the sentiment,
Stamp the sentiment from the Penny Black® Inc. Cut and emboss the sentiment using theFancy Framed Tags One Spellbinders™ Shapeabilities®, it is always good to use Wax Paper with the intricate Dies, placing the wax side facing into the Die, so that is is easy to remove. Remove the Wax Paper from the Die, reinsert the sentiment into the Die and sponge around the inside edges, using the Die as a Stencil.
Attach the Die Cut sentiment to the front of the card using the Beacon Adhesives - Zip Dry Paper GLUE. Next, cut one (1) Jewel Flowers and Flourishes Spellbinders™ Shapeabilities® in white card and sponge using green ink before removing from the Die. Attach to the left side of the card using Beacon Adhesives - Zip Dry Paper GLUE
In case you are wondering where you write on this card, I have attached a white layer on the back for that exact reason. I hope you have enjoyed this tutorial and are inspired to create a special card for someone you love, whether it be family or friends - when cards are this easy - you can make one for everyone!"
{{{hugs}}}
Time to turn in . . . tomorrow's another day with, I'm certain, more surprises! Life is good when no two days are alike, right?



.jpg)


No comments:
Post a Comment