"Chickadee Card

CC029 Music Cover-a-Card, E7024 Chickadee, Die004-J Fence Die
Colored with Copic Markers"
From the Copicmarker blog . . . I immediately thought of our Journal Club members because this looks so similar to their artistic endeavors
November 13, 2012
'This week, illustrator Brandi York shares her techniques for creating a mixed media piece with watercolors and Copic markers
"I’ve been enthralled with much of Japanese culture for a long time. Geishas have always been a fascination, so I decided for this mixed-media tutorial, a lovely geisha in pink would be my subject.
For this, I’m using Strathmore Watercolor paper. You don’t need to have expensive paints for this, since the majority of what we’ll be seeing in the end will actually be Copic markers, but it will have a watercolor appearance. The key to this is to run some water over your watercolors if you’re using dried pans, letting the water soak in for a good 10 minutes before you actually start painting.
I start with a very light pencil drawing on watercolor paper. I use colorless masking fluid on spots that I want to keep white or very light in the final piece amid a darker area (like the center of the flowers in her hair or the flowers hanging down the side of her face). Using clear water, I do a wash in just the area I want to work on, in this case the hair. Let the water soak into the paper for a moment before adding the paint. I come in with a light purple-black and float it into the water, letting it move and shift as it wants to. I’m not trying for very tight control at this point – that will just frustrate me and take all the fun out of this. Let the watercolor do its thing and make for finer detailing with the Copics later.

Before it’s fully dry, I’ll come back in with a little darker mix of the purple-black, deepening the darker areas of the hair. Now I’ll move to the kimono and give it the same treatment, bouncing around while I allow each piece to dry. Don’t like how a particular area is going? Dab it with a dry paper towel. Depending on the color, it likely won’t remove it completely, but it will certainly lighten the color and allow it to dry more quickly.

When I approach the face with watercolor, I am very careful to keep it light with just a touch of purple and pink near the chin (reflecting the color of the kimono). Just before it dries, I come in with a wet brush to soften the edges further and lighten it just a bit more. I add color to the flowers, the neck of the kimono under the top and the background, all using the same method.

Once everything is dry, I break out my Copics. I’m using the Sketch, using the brush side. I start detailing the flowers with R22, R24, BV23 and BV25 with a bit of Y00 and Y26 for the flowers. The fun part of this is that much of the base has already been laid for you with the watercolor. Now you can come in and start layering color in, detailing it up without the use of a tiny brush. I also use BV23, BV25 and BV29 to add some detail into her hair. Mostly quick little stokes here, just trying to layer up and create a bit more depth with the markers.
I move on to the face, adjusting the hairline with BV29 and 110 Special Black. BV000, BV20 and V95 serve for my first pass of the face, with just a little bit of R20 for the color to the lips and hint of color at her eyes. Again, here, I’m just using light strokes, flicking my wrist to let the color trail off, using the Colorless Blender to soften the edges of the color on her face. I want the effect to be very soft, as though I was still using watercolor. By staying very light, I am ensuring that I’m not going overboard too quickly, keeping that soft transparency.
In places I want to make sure edges blend out, I use the Colorless Blender -first- then lay down the color. The edges soften far more this way, giving me the very soft edge I want.

I continue layering color on her face, adding a little R20 to create a reflected light from the kimono on her chin, as well as continuing to relayer BV000 and BV20. I see that I’ve made a bit of a mistake on her nose, so I come in with the Colorless Blender and keep layering it until the color lightens to almost gone. The blender is basically pushing the color through the backside of the paper (if I flip it over, I can see the color starting to come through). I wait until the area is completely dry and then I’ll make my corrections. Something to be aware of – when making corrections like this, there will often be an edge where the color will collect, leaving a ring around the area. A way to help avoid this is to feather out the strokes from this corrected area, leaving it so that the ink is not so concentrated. Since we have a watercolor effect going here, it’s not going to be as noticeable as something that is more tightly rendered.

I finish out the kimono the same way I had the face and hair, including the use of B14 to pull some of the blue tones of the background forward. I dot it around the piece to help tie it all together. At the very end, I add a little of Sakura Gelly Roll in white, detailing up a few bits of the kimono.

I hope this inspires you to try something new and give mixing medias a whirl. The versatility of Copic markers makes it so easy to try different things with amazing results!"
Colors Used: Y00, Y26, B14, BV000, BV20, BV23, BV25, BV29, V95, R20, R22, R24, R29, 110 Special Black and Colorless Blender with Sakura Gelly Roll pen over watercolors.
See more of Brandi’s illustrations on Copic Color, and add your own work while you’re there!' (click on the "Copic Color" link)
From Helene Metivier at Magenta . . .
"Cartes de Noël - Christmas cards
Three Christmas cards ideas, easy to achieve...
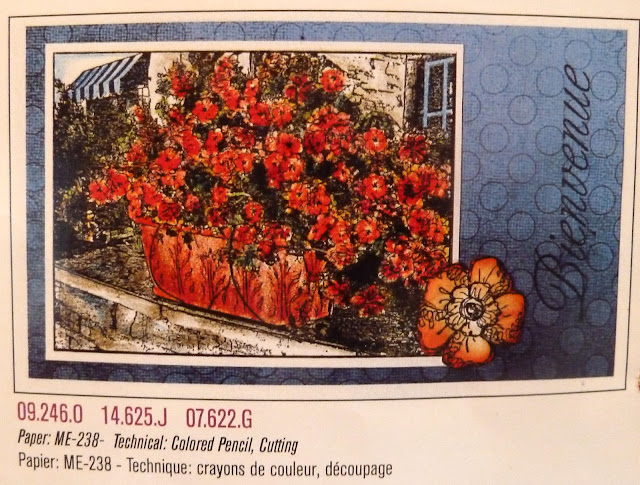
 |
| Magenta rubberstamps: 02.305.P, 07.413.F Embossed in black on 140 lbs watercolor paper. Colored with Tombow markers, splattered with UsArtQuest watercolor. |
 |
| Magenta rubberstamps: 42.105.N, 07.456.H Decorative paper: ME34 Embossed in black on 140 lbs watercolor paper. Colored with Tombow markers, splattered with UsArtQuest watercolor. |
 |
| Magenta rubberstamps:02.302.P, 07.413.F Decorative paper: ME237 Embossed in black, colored with markers, splattered with UsArtQuest watercolor. |
And some more cards from Magenta to provide additional inspiration for your fine art rubber stamping . . .


It's been at the store . . . the special Christmas paper from Memory Box. It's lightweight cardstock in 8.5x11 size . . . and it's fun to use! Look on the back paper rack under 'Memory Box.'


Additional Memory Box 12x12 Christmas papers are also at the store.


Last store thought for the evening . . . the Copic blending paper is back in stock!
There were a few beautiful and fun pics on FB today that I just have to share with you, especially the last one!
 |
| what would the world be like without Maxine? |
 |
| beautiful, isn't it? I'd love to walk down this lane. |
 |
| very clever idea to organize all of those charging cables! (big paper clips!) |
 |
| An elephant greeting his keeper. |
 |
 |
| Isn't this a clever centerpiece for your Thanksgiving table? |
 |
| OMG, have you ever seen anything like this? Someone has a lot of ingenuity AND lots of time on their hands! |
 |
| For those of you who are fans of the 50 Shades of Gray series . . . |
And now for my favorite . . .

I love ending the day with a big dose of humor, especially on a night like this! I hope your drains are clear and you are not without power. We'll see you tomorrow!
No comments:
Post a Comment