 |
| by Dianne Johnson |

 |
| by Dianne Johnson |

 |
| by Dianne Johnson |
 |
| by Dianne Johnson |
 |
| by Dianne Johnson |
 |
| by Dianne Johnson |
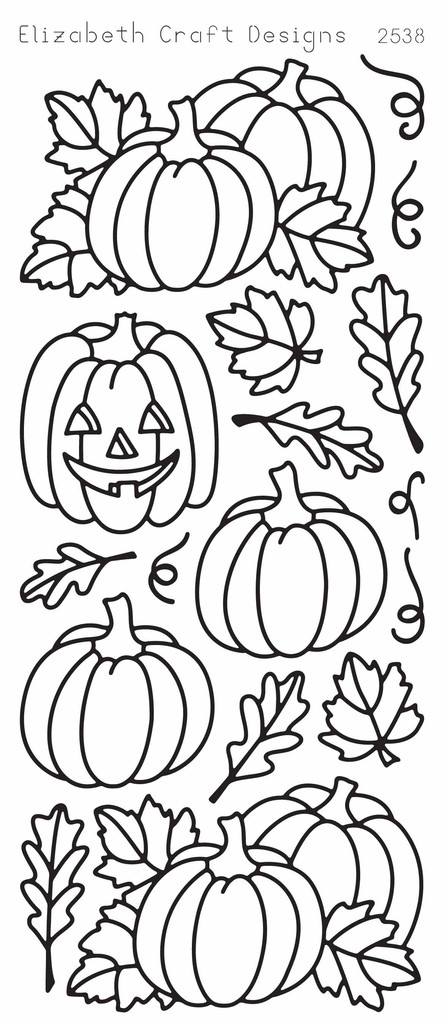
From Millsrepco, these are the new peel off designs from Els at Elizabeth Craft Designs . . .


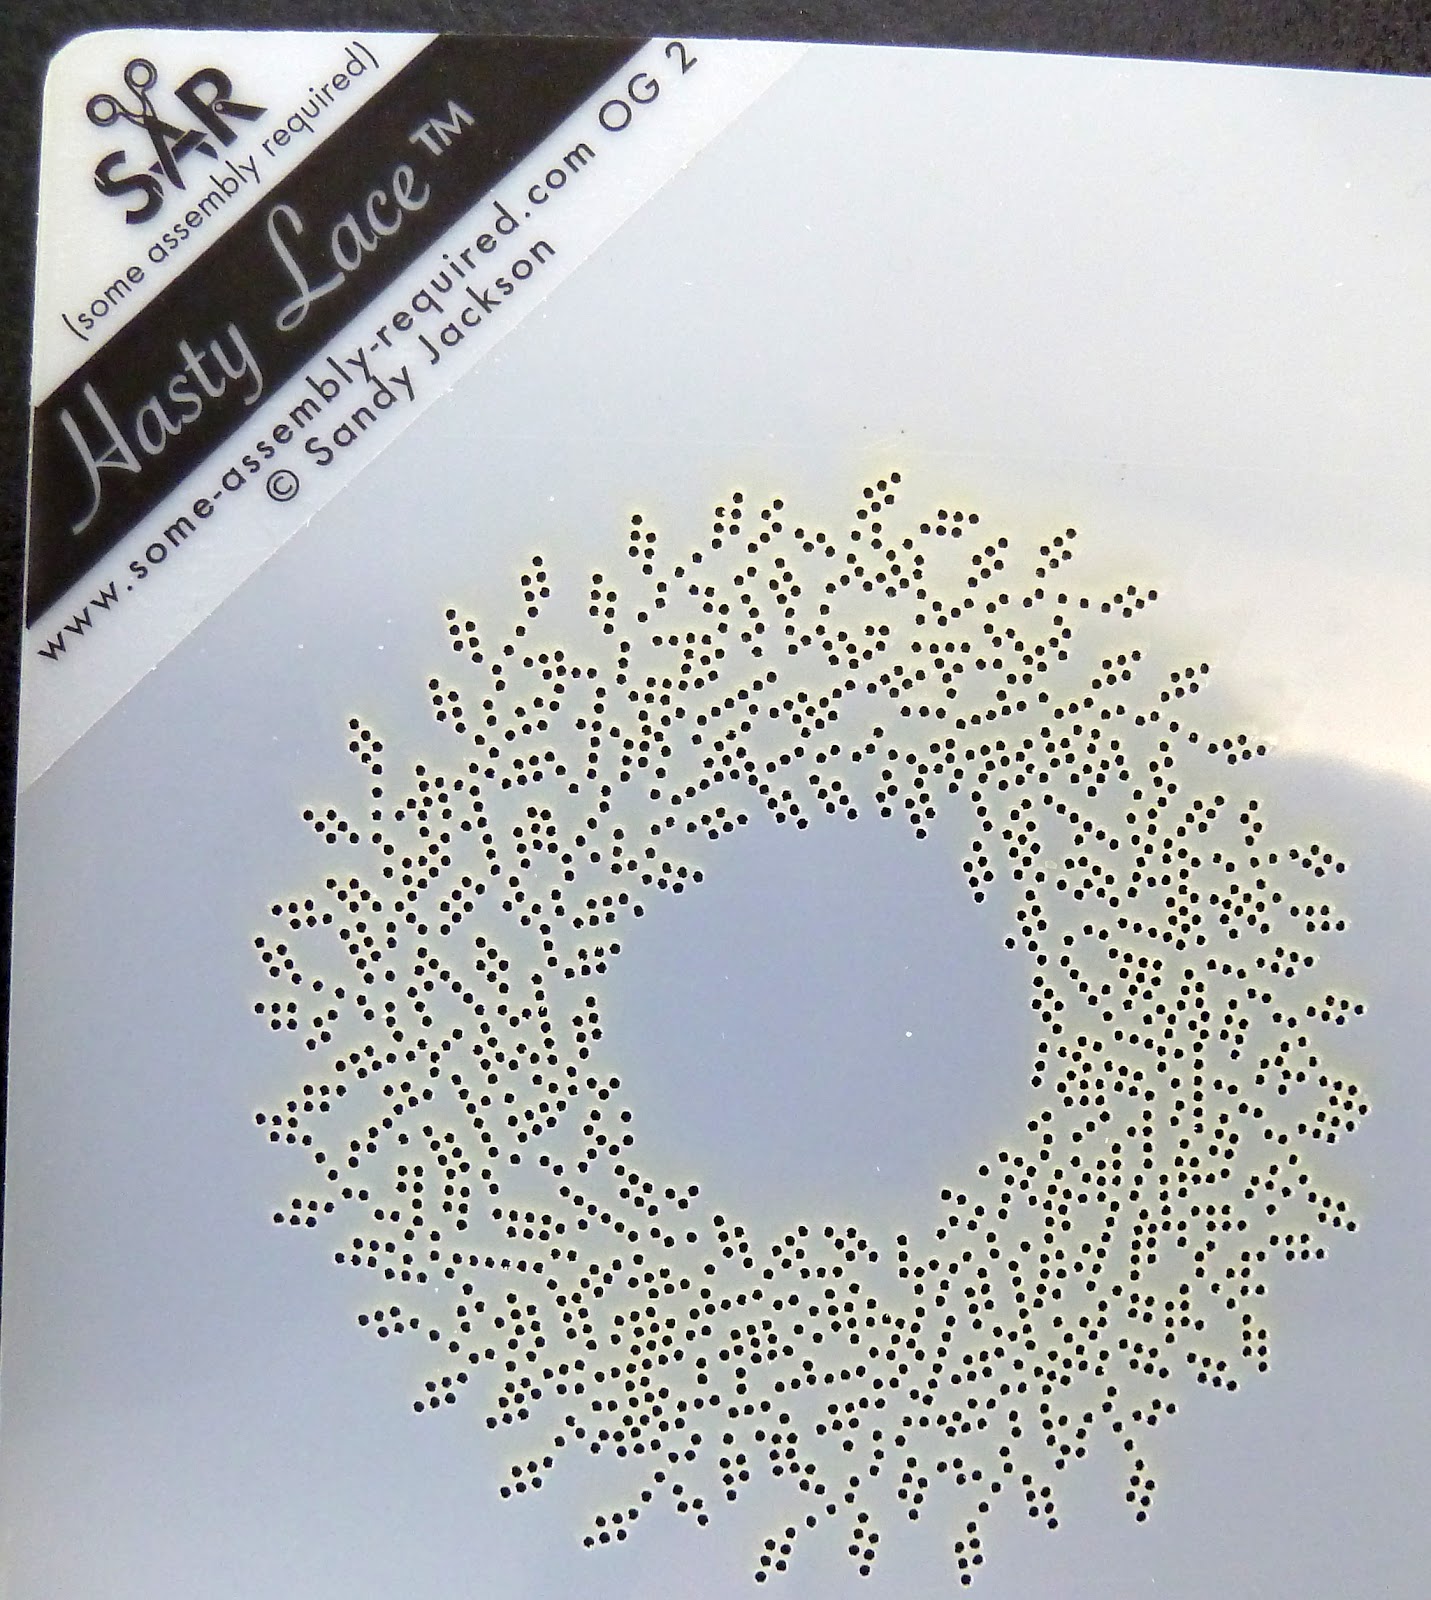
From Spellbinders, an introduction to some of their new summer-release dies . . .
Sylvia Blum: So Lovely To Know You–Card with Edgeabilities |
| by Guest Author |
"Hi everyone and happy Wednesday! It's Sylvia here with a tutorial on how to use Spellbinders™Edgeabilities® to create a card.
I really love the endless possibilities you have by mixing the inserts and edge dies that are available from Spellbinders™ Edgeabilities®!
And you will see it's really super easy to create a card with these beautiful, versatile dies!
Spellbinders™ Paper Arts Supplies:
- Spellbinders Grand Calibur® Machine
- Edgeabilities E8-007 Classic Edges One
- Edgeabilities E8-013 Classic Decorative Inserts Five
- Edgeabilities E8-014 Classic Decorative Inserts Six
Cross Promotional Partners:
- Scor-Pal® - 1/4" Tapes
Other: Patterned designer papers, sentiment rubber stamp, brown ink, black cardstock, blue crinkled seam binding, decorative brad
On the first picture you can see what we'll need to create this card: 1 piece of red background paper cut to approx. 5.5 x 4.25 inches, 3 pieces of patterned designer papers approx. 6 x 2 inches, and of course the Edgeabilities edge and insert dies
Place the insert dies at the bottom of the patterned paper strips and run it through your Grand Calibur® Machine. After you have run them through, you can carefully 'peel off' the insert dies
Now you can place the edge dies (I always use a little piece of tape to keep the die in place) and run the strips with the edge dies through the Grand Calibur® Machine again.
Here are the three border strips I will use for my card:
We also need two strips of the background paper (approx. 1 inch high) to go behind two of the border strips.
I want to place them behind the upper and middle patterned paper border strips,
so I am going to use the scalloped and zig-zag border dies from the E8-007 Classic Edges One again.
Now you can place these red border strips behind the patterned paper border strips and glue them together (like you can see it in the next picture on the upper border strip)
Here are the three cut and glued together border strips that will be used on my card.
I also added a bit of ink to the edges for a subtle distressed look (I love distressing!)
It's now time to assemble the card:
1. Stamp the sentiment on the lower left of the red card base
2. Place the lower border strip just above the stamping and glue it in place.
3. Snip off the excess paper on the left and right side of the card
This is what you have so far:
You can now place the second strip and also glue it down and snip off the excess paper on the left and right side of the card:
Finally you can place and glue down the third strip and then decorate the card with some ribbon and a brad or whatever you like
I used a blue crinkled seam binding to 'hide' the upper edge of the patterned paper border strip:
And here's a close up of the border strips:
See, like I told you: This card was super easy to create!
I hope you like this little tutorial and my card and I would love to see YOUR results using Spellbinders™ Edgeabilities®!
BTW: I also wrote a tutorial on how to use Edgeabilities for creating some decorative ornaments a few months ago! If you are interested in seeing it, please follow this link: HERE
Thanks for stopping by today and if you have any questions or comments, please don't hesitate to write them down just here in the comments section!"
Fried-brain me lost my iPhone yesterday morning; I think I left it in the taxi. So I'm spending the morning trying to track it down. It has the feature "Find My Phone" and it worked; however, the police say "what do you expect us to do?" I've locked the phone and posted messages to call Tom and/or turn it into Lost & Found at the hotel.
I have a few orders to submit today at CHA and then take lots of pics. I had intended to use my phone to take yesterday's pics (I even remembered to take my charger!). There are fewer vendors at the Summer Show; it's nice so you don't have to wait or wait too long to do the make 'n takes that I can never take the time to do at the Winter Show. In terms of paper lines, I am having a great time and will take pics for you.
Both My Mind's Eye and Webster's Pages have a fabulous Halloween collection . . . the Halloween book will be quite fun this year. SEI has beautiful fall papers. A brand new paper designer is at the show and I liked quite a few of her designs. Graphic 45's Bird Song papers are even more stunning in person . . . Susie and I were oohing and awing quite a bit. I'm taking another look at Basic Grey today and FabScraps. And Susie and I both LOVED some of the new stamps from Impression Obsession . . . we've already started our pink sheets because IO is open catalog at the birthday party this Sunday! And IO is introducing new dies made by the same company that makes the Cheery Lynn and Memory Box dies.
Speaking of the birthday party . . . John Peterson and Suzanne Glazier are going to be there and we hope you will too!
Susie, Helene and I are doing our best not to melt on the pavement . . . it is sweltering hot with no relief other than inside air-conditioned buildings. I'm waving "see ya!" with my fan!
No comments:
Post a Comment