Here's Dianne's explosion box that she's working on from John Petersen's class. I was so sorry to miss the class but I understand it was, indeed, a lively one. I'm so happy to learn, because we always have a waiting list for John's classes, that he's agreed to do two classes in June so we can hopefully sign up everyone who wants to join in on John's fun sessions.
by Dianne Johnson
 |
the box top -- using Cheery Lynn's wicker and weaver dies,
and other dies to make the center cut-out and the flower;
peel offs for the corners |
 |
| the sides of the box |
 |
| the open box |
 |
| the center is the laser cut acrylic tile from Magenta |
 |
| the first layer underneath the tile |
 |
| the next layer |
 |
| the sides |
 |
notice that the stamped side paper is
the same design as the laser cut center acrylic tile
from Magenta |
 |
from the butterfly paper, Dianne colored
the butterfly on the right and added a couple of
crystals; the butterfly on the left was colored
and cut out and applied to the piece for a
3-dimensional effect |
 |
the tag inside the envelope has been
embosssed; notice that the die on the outside
of the envelope is from the box top |
 |
this die was too tall; Dianne cut it so the top
of the die became a tag and the bottom of the
tag became a decorative piece for the envelope |
Dianne, we're all anxious to see the finished box because, so far, it's AMAZING!
John Petersen's "Book in a Box" classes are scheduled for Saturday, June 30. The first class will be from 10:00 to 1:00 and the second class will be from 2:00 to 5:00. Call the store to sign up at 360.357.6820 or, even better, stop in! The fun is using products from Imagine Crafts and Tsukineko to create your Book in a Box! Any Saturday you spend with John is a great Saturday!
 |
| by John Petersen for the Book in a Box Class at Art 'n Soul on June 30 |
The Dreamweaver stencil order arrived yesterday; several of them are the ones that Lynell will be using in her classes at Art 'n Soul on June 18.
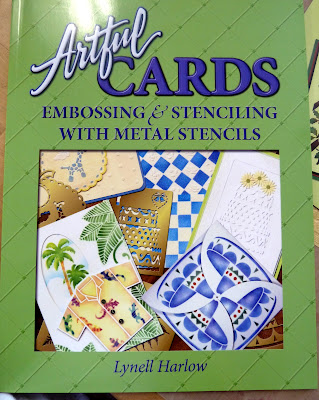 |
| Both of these books are at the store |
 |
| These technique sheets are a quick and handy reference! |
 |
Remember this stencil that Marj used along
with the Memory Box tulip petal dies? |
 |
| Great stencils for Zentangling! |
 |
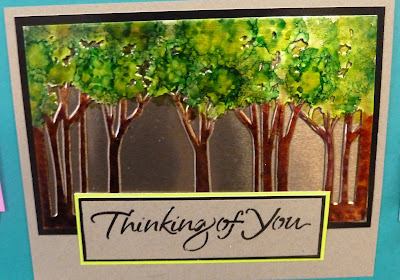
This makes the beautiful
class card below . . . and our
order included several of the metal foil sheets! |
 |
| by Lynell Harlow for Dreamweaver Stencils |
 |
Another stencil for one of Lynell's classes . . .
and it's another great stencil to Zentangle |
 |
| by Lynell Harlow for Dreamweaver Stencils |
 |
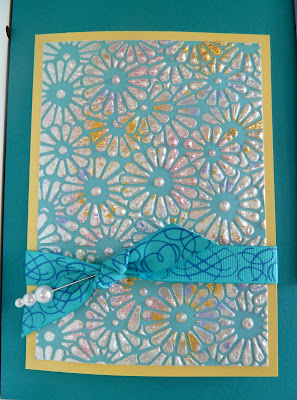
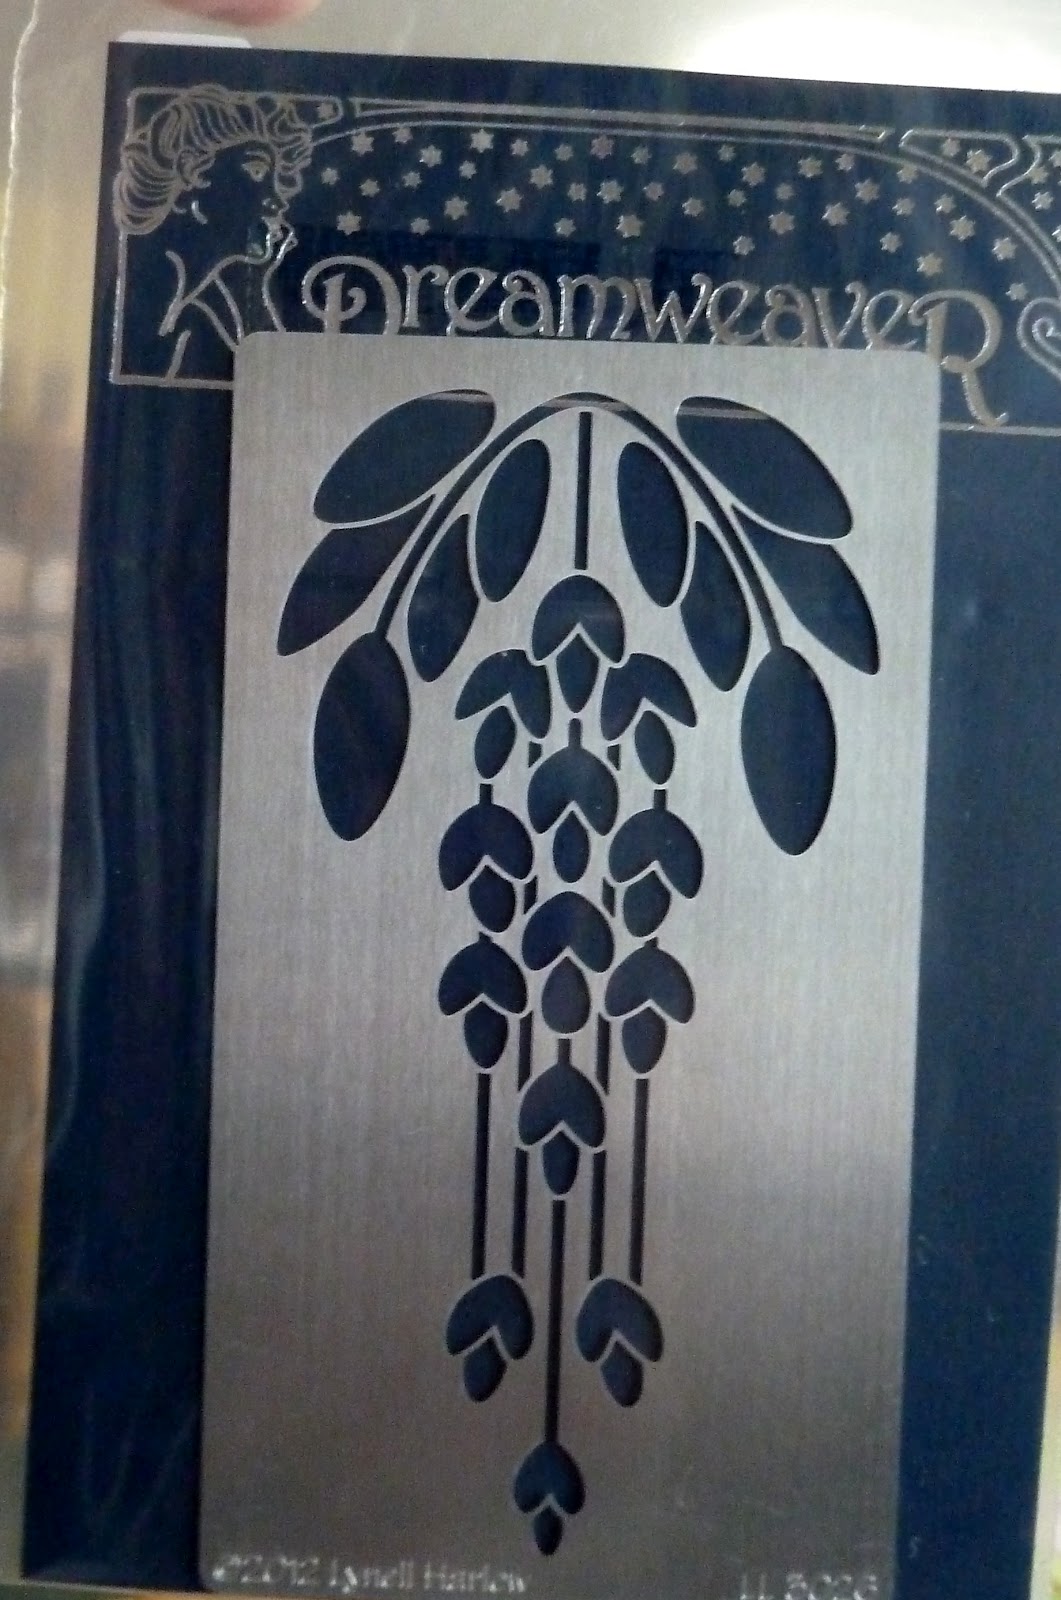
This stencil is one of the ones Lynell will teach her
Molten Magic technique with. |
 |
| by Lynell Harlow for Dreamweaver Stencils |
 |
Another stencil for one of Lynell's classes . . .
and it's another terrific stencil to Zentangle |
 |
| by Lynell Harlow for Dreamweaver Stencils |
 |
Again, one more stencil for one of Lynell's classes . . .
and it's one more terrific stencil to Zentangle |
 |
| by Lynell Harlow for Dreamweaver Stencils |
 |
| another stencil for class . . . and for Zentangling! |
 |
| by Lynell Harlow for Dreamweaver Stencils |
Stencils to be used in class & more Zentangling!
 |
| by Lynell Harlow for Dreamweaver Stencils |
 |
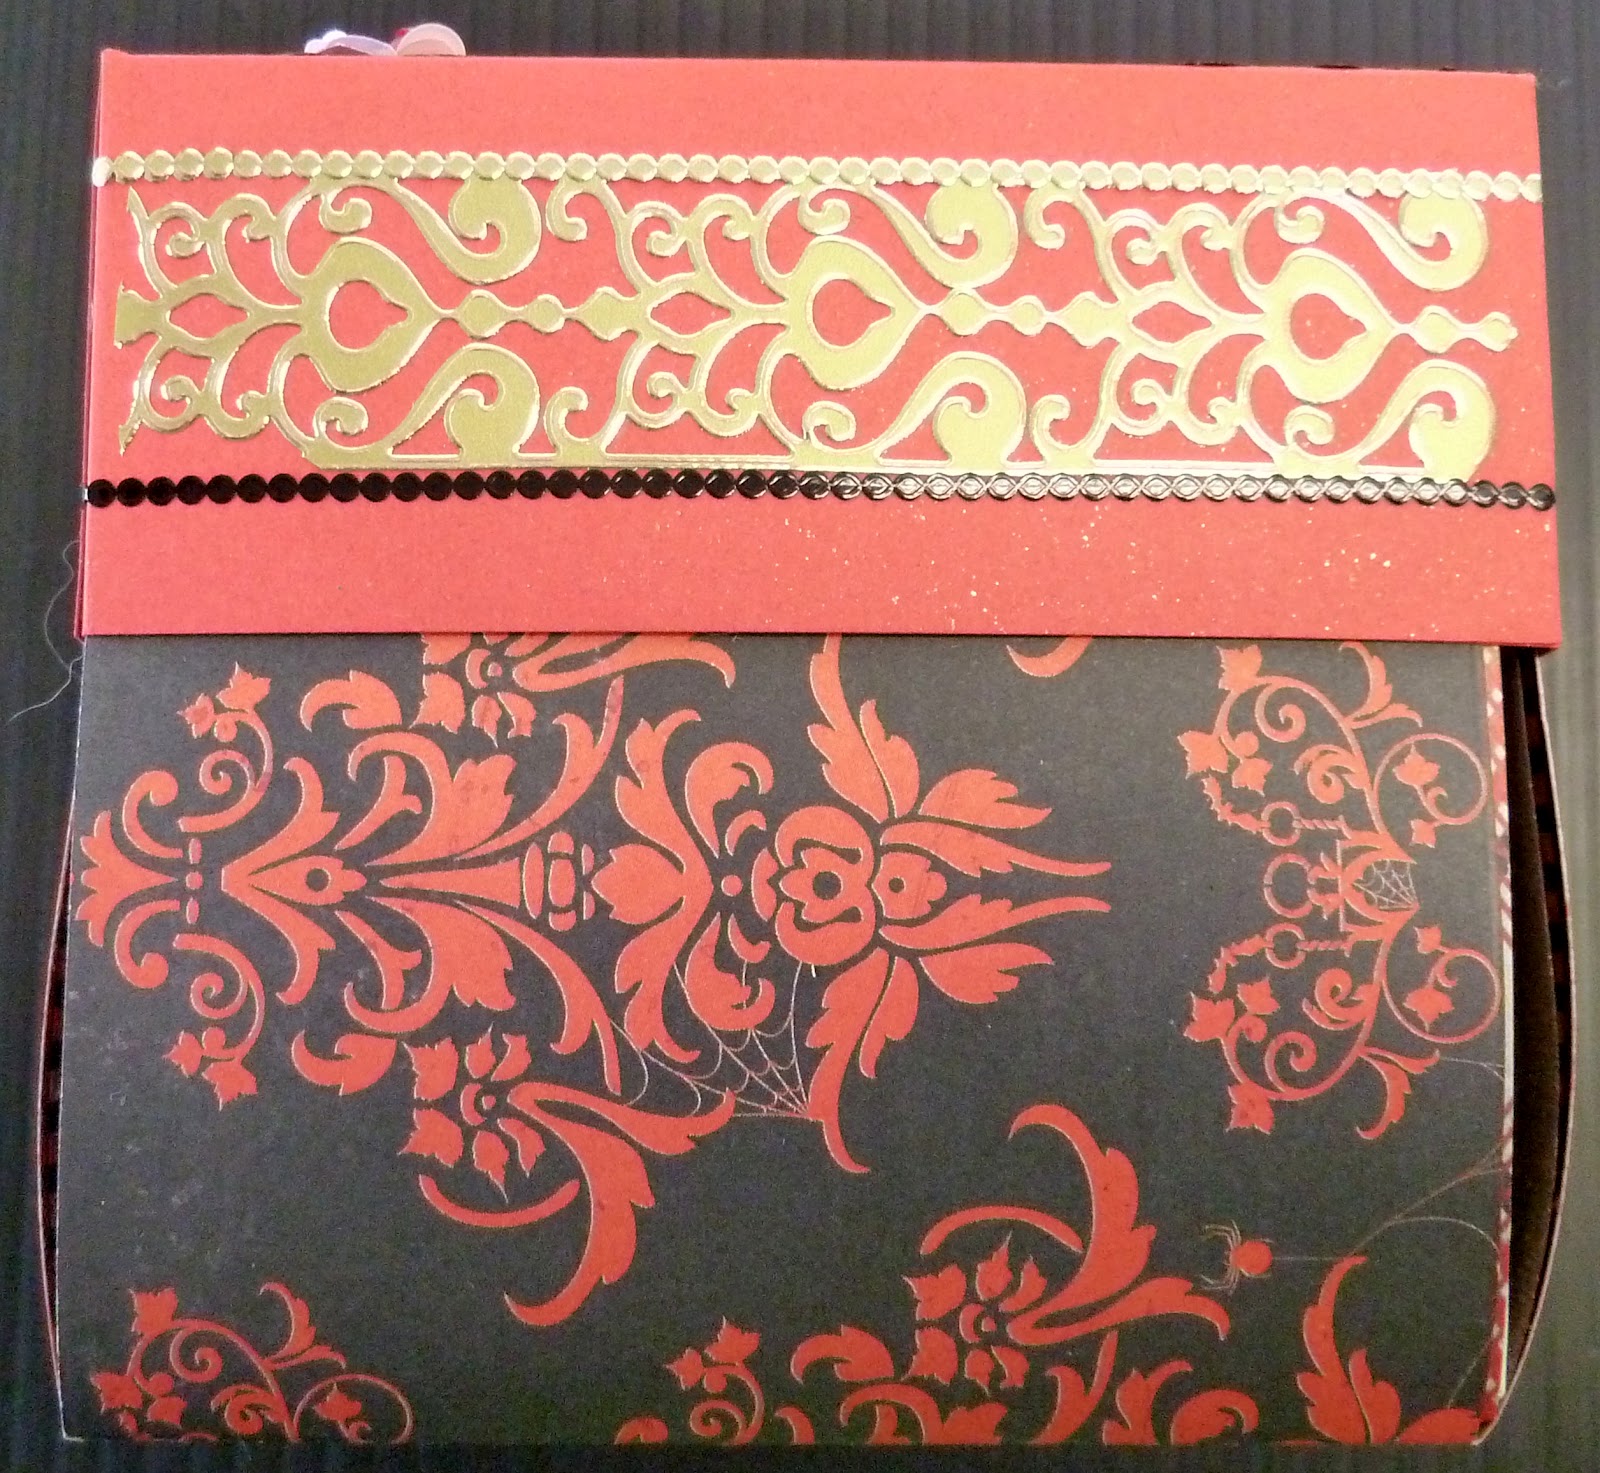
this is the stencil we used in Marj's last stencil class
when we colored the open spaces and then embossed
so it looked like ribbons on the paper; Dianne cautions
you to use an embossing hand tool instead of running
it through an embossing machine because it ieasily bent! |
 |
| think I can Zentangle this one too? |
From Hero Arts . . .

Soft hues of ink are still strong enough to use for resist stamping.
|
|
| More Resources |
Use darker ink colors for a more dramatic effect.
|
No need to be too careful when applying ink to the card, smudges and smear marks give the project a handmade look plus the Friend Definition and Silhouette Grass will hide many imperfections.
|
Hero Arts Silhouette Grass Stamp (S5316), Friend Definition Cling Stamp (CG125), VersaMark ink, clear embossing powder, Distress inks, Cardstock, pearls, ribbon, ink applicators, butterfly punch.
|
|
|  |
Soft Shadowed Backgrounds
By Shari Carroll
Soft inked backgrounds are pleasant for any occasion cards. Make a few for future use.
|
Instructions:
When you create a great card that can be used for any occasion such as Birthday, Anniversary, Wedding or even Sympathy, it's a good one to use over and over again.
This card is just one of those ideas. I've used light hues of Distress inks to give a soft subtle background for the white Silhouette Grass foreground image. The inside is the perfect place for a fantastic message.
The How to Part:
- Start by clear embossing the Silhouette Grass image onto white cardstock.
- Use a make-up sponge or Ranger Ink applicator to apply Old Paper Distress Ink. Use a circular motion and apply the ink in random areas.
- Add in some Weathered Wood Distress ink, overlap onto the Old Paper ink.
- Try adding in another light tone such as Scattered Straw. Again, using circular motions to apply the ink.
- Once the desired effect is achieved, ink up the Friend Definition with Pumice Stone Distress Ink. Use a moist baby wipe to remove ink from the center of the image. Stamp onto the panel.
- Trim the panel and adhere it to a white notecard.
- Cut a slit in the spine of the card with a craft blade and thread with ribbon, tie in a bow.
- Add butterflies and pearls to finish.
- Wait for an occasion to arrive and stamp a greeting inside.
Try using other Hero Arts images to create combinations to suit your taste.
Enjoy the process!
|
|
|
|
Off and running . . . last night, I tried to figure out the Magenta frame pics from class and it's still a work in progress. I really did not forget!


No comments:
Post a Comment