 |
| by Debbie Gaetz |
- Magenta Stamp: Delicate Branch 0693.L
- JudiKins Stamp: Happy Birthday 3487F
- IMAGINE Crafts/Tsukineko:
- Memento dye ink in Gray Flannel
- Memento Luxe craft pigment ink in Gray Flannel
- SEI Paper: Azalea Collection (Floral Fantasy 8-9302) (3-5/8" square)
- Stardream Metallic paper in Vista (3-3/4" square)
- Sakura's Micron Pen .03 in Black
- Purple flat-back adhesive crystals
- 140 lb. cold press watercolor paper (5-5/8" x 11-1/4" & scored in half)
With the SEI paper, center the Sizzix die in the center and secure to the cutting plate. Run through the die cutting machine. DO NOT take the paper out yet. Carefully take out the squares one-by-one so you keep the order the same as it was die-cut; I didn't think to do that so I had to work the 'puzzle' and it took a little more time. Lay the squares face up in the order it was die cut. Take out the frame that is also die cut. The border that remains outside of the die is turned so it is the same 'picture' as the die-cut squares.
Center the outside border onto the metallic paper, flower side up, and adhere with a thin bead lie of liquid glue; I used liquid glue because you can move the frame a little if you need to. Turn the inside frame over, and center that inside the outside border frame, and adhere. With double-sided foam mount adhesive cut into squares, adhere the square "mosaic" into the empty spaces inside the frame.

Using foam mount tape, adhere the "mosaic" square onto the card front, slightly off-center. Apply the crystals.
With the Micron pen, I went over portions of the lettering in the sentiment; I wanted it to look like I had penned the sentiment. Because the sentiment and branch were stamped onto the bumpy side of the watercolor paper, they took on more of a shadowy background because I didn't want them to compete with the "mosaic."
Next, I am going to have to try a similar technique using the Art Squares from Inchie Arts. Lisa Lee, if you're reading this, thank you ever so much for working with Sizzix so they would make this marvelous die -- I'm going to be using it a lot, with my Inchies! of course.
Sandy Allnock is a master when it comes to using Copic markers and their air brush system. She posted this blog about using her markers on a recent flight, a large Penny Black stamp, and the slight air bump that led her to a magical finish on a card.
 |
| by Sandy Allnock for Penny Black |
Click on this link to Sandy's blog to read the entire posting: http://sandyallnock.com/reunited-with-my-signo-pen/
Shelby Thomas has made a very clean and simple card for the holiday season from the new Memory Box Holiday 2014 release.
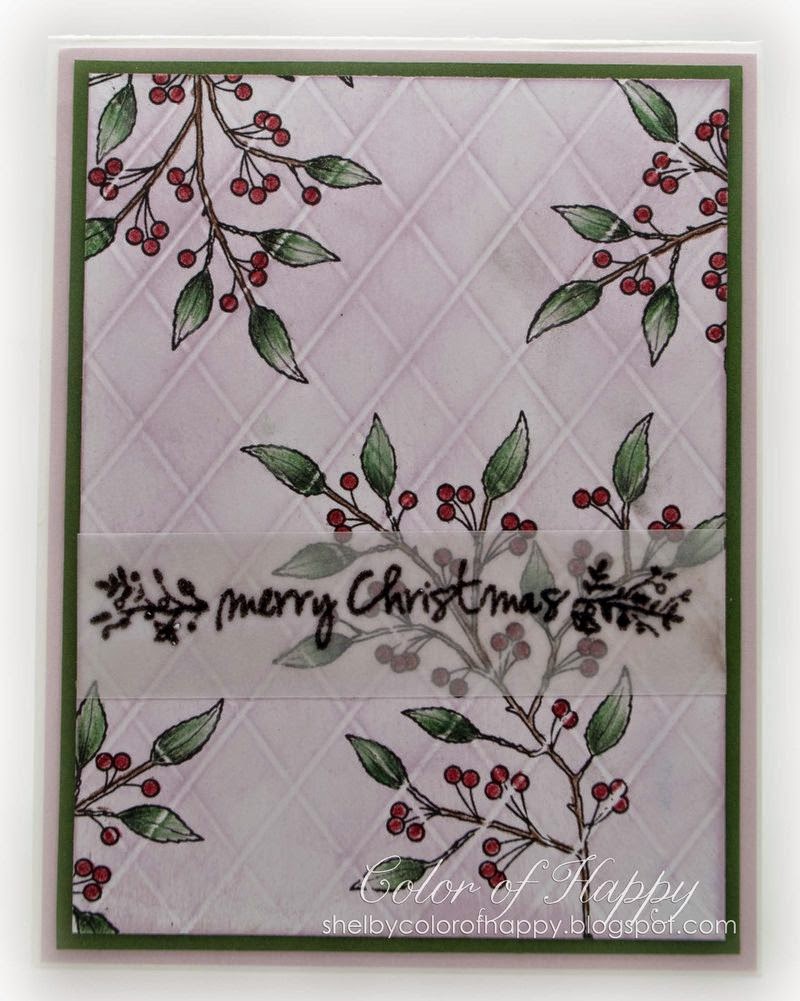 |
| by Shelby Thomas for Memory Box |
Click on this link to see Shelby's how-to for this card: http://davebrethauer.typepad.com/outsidethebox/2014/09/wildberry-branch-christmas.html
Penny Ward has made a clean and simple Christmas card, too, over on the IMAGINE Crafts blog.
 |
| by Penny Ward Artist-in-Residence for IMAGINE Crafts |
Click on this link for Penny's directions:
Linda Lucas stepped outside her normal 'box' and created a mixed media on canvas for IMAGINE Crafts. Her colors are so vivid!
 |
| by Linda Lucas Artist-in-Residence for IMAGINE Crafts |
Click on this link for Linda's detailed instructions: http://imaginecraftsblog.com/2014/09/11/mixed-media-canvas/
Here is the Amate paper we've been waiting so long for. The company is discontinuing the 12x12 size, so they had a 'last chance' sale; they sent me what they had. I'm quite excited since it's been almost a year and a half since we first discovered it.
The Otomoi Indians of Mexico produce Amate paper by pounding the bark fibers of fig and mulberry trees on a wooden board and drying the sheets in the sun. Amate bark paper can vary significantly in color from sheet to sheet as you might see.


 |
| there is only ONE sheet of this available |
These papers will be at Art 'n Soul tomorrow in the late afternoon. I enjoyed 'weaving' washi paper with the open weave designs a while back and I'm anxious to repeat that technique. What's even more fun is the matching color in the solid design.
If you're wanting to cool off a bit tomorrow afternoon, please feel free to head on over to Art 'n Soul where the air conditioning and artsy inspirations will re-energize you. We'll see you tomorrow!
Art'n Soul's Annual Christmas Party
Sunday, October 19, from 1:00 to 4:00 p.m.
Please save the date on your calendar.
 |
| this is how I felt after watching the Seahawks lose their first away game of the season |


Beautiful birthday card Debbie!!
ReplyDeletethank you Dianne; I love that new Sizzix grid die
Delete