


Marj was immediately inspired to make a card using these beautiful spring colors . . .
 |
| by Marj Marion |
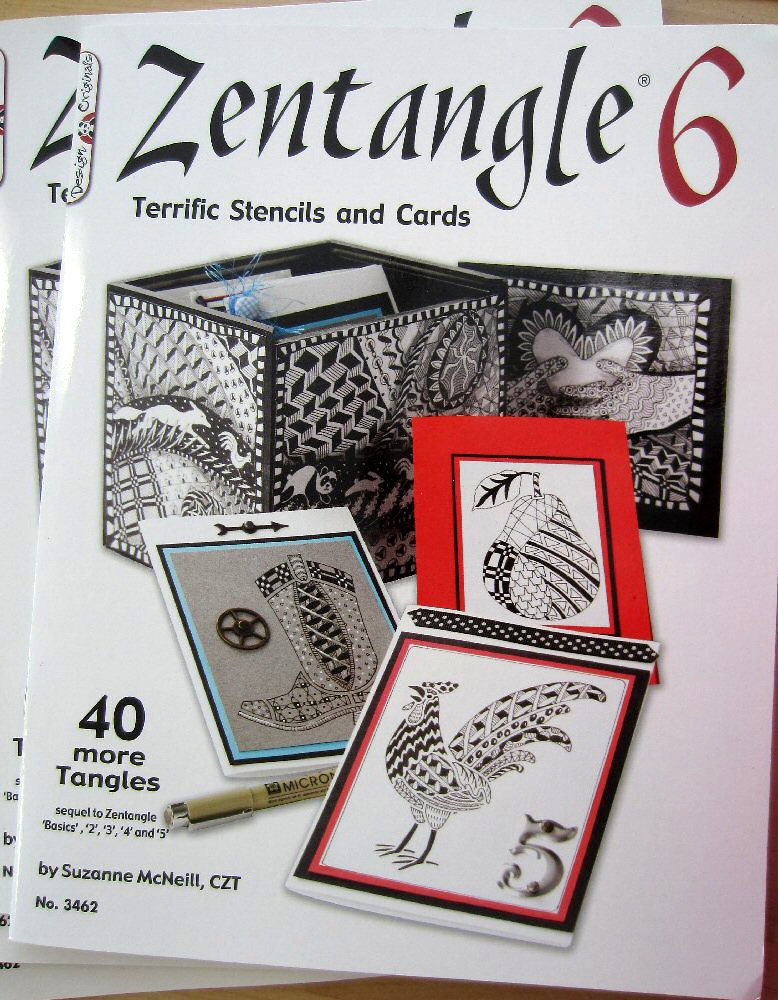
The new "Zentangle 6" book from Suzanne McNeill, CZT, is at Art 'n Soul. This one features entangling with stencils, featuring stencils from our favorite company, Dreamweaver. This book is going to stay on my work table, permanently! I love the box project.
Also arriving at the store is an order from Stampscapes. I can conjure up a lot of 'scenic' stamp designs . . . and use for the Scenic Sentiments sheet, too!
 |
| from "Stampscapes" |
 |
| from "Stampscapes" |
 |
| from "Stampscapes" |
 |
| from "Stampscapes" |
 |
| from "Stampscapes" |
From Spellbinders' blog . . . I'll bet those new spring seasonal distress ink colors would work beautifully . . . or the new Memento ink colors!
| Add some glow - Cut, Emboss, Stencil |
| by Beate Johns |
"Have you seen the blog post from the new Spellblogger Candy? She showcased how to use the dies to heat emboss the embossed parts of the die cut. I love to use the templates to sponge my die cut pieces to add a glow/edge to it. I think it adds so much to the die cuts.
Spellbinders™ Paper Arts Supplies:
- Spellbinders Grand Calibur® Machine
- S4-112 Classic Oval SM
- S5-031 Fancy Tag 3
- S4-269 Lotus Pendants
- S4-349 Foliage
- LF-114 Grand Circles
- LF-124 Grand Scalloped Circles
- JustRite® Stampers - Family Garden Cling Set
- Want2Scrap - Black Finesse Rhinestone Swirl, Black Baby Bling Rhinestones
- Clearsnap - Color Box Wicked Black Dye Ink, Color Box Pigment Ink Boysenberry
- My Mind's Eye™ - Follow your Heart Be Amazing patterned paper
- Scor-Pal® - Scor-Tape and Scor-Mat
- SCRAPBOOK ADHESIVES BY 3L™ 3D Foam Squares
Along with the stamped oval, more white cardstock was cut and embossed with a Lotus Pendantsdie, a Fancy Tag 3 die and a Foliage die.
The oval was sponged with a light blue, the leaf with a green ink.
I stamped a flower from Family Garden in Boysenberry Pigment ink, cut it out and layered it along with the die cut pieces to create my center piece. A black Baby Bling Rhinestone was added to the flower center to add dimension.
A strip of My Mind's Eye™ - Follow your Heart Be Amazing patterned paper was adhered to a bigger paper square. The smallest of the Grand Circles dies was adhered over the patterned paper and the layers were cut and embossed with the Grand Calibur. Along with the patterned paper piece a folded piece of cardstock was cut and embossed with the smallest of the Grand Scalloped Circles dies to create the card base.
Of course I had to sand the edges of my patterned paper. I just love the look of that. Another white cardstock square was cut and embossed with the same die used for the card base to create the card front. The patterned paper was adhered to that scalloped circle. The sentiment layers were adhered to the card front with SCRAPBOOK ADHESIVES BY 3L™ 3D Foam Squares.
Parts of a black Finesse rhinestones swirl was added to the upper left and lower right of the sentiment. Scor-Tape was added to the front of the card base.
The card front was adhered to the card base to finish the card!
Thanks so much for stopping by today! It's time to send out those Mother's Day cards to your mother, grandmas, sisters, aunts and friends. To every mother out there, I hope you have a wonderful Mother's Day.
Hugs and smiles"
From May Arts, the company we purchase the majority of our beautiful ribbons from . . .
| Handmade Seed Paper |
| "Welcome back to the May Arts blog! Today we’re going to show you how to take those bits and pieces of scrap cardstock or paper and recycle them into a whole new product. You’ll need just a few simple supplies and a kitchen blender. Your kids will love this project too! Even my husband was intrigued by the process. It’s really easy and so much fun! Ready? Supply List

Lay 4 sticks so that they overlap one another to make a square. Staple or glue together.  Lay the screening over the sticks.  Lay 4 more sticks over the screening; staple through all layers. Cover with duct tape. (I got so excited I forgot to take a picture before I used mine. Love that hot pink duct tape!  Make the paper Tear paper scraps into 1-2” pieces and place into the blender. Pour in enough warm water to cover the paper. Blend until the paper mixture looks like oatmeal. (You may need to add more water as you blend.) Cut the May Arts burlap cord and Woven Burlap into small pieces. Place in the blender and blend for a few seconds.  Now, fill the 13 x 9” pan about half full of warm water. Pour in enough pulp to make a thin “soup”. (I experimented making some thicker and some thinner. I liked both!) Sprinkle in your packet of seeds (I used lavender seeds because they’re black) and crushed flower petals, if using, and stir them in.  Sorry, I got so excited I forgot to photograph this next part. Lay your screen over the empty pan. Ladle enough pulp into the screen to cover it. Once the screen is covered, press the water out with the back end of a spoon, then, carefully tip the frame upside down over a doubled up towel. With another towel, press on the screen to remove any excess water, then gently lift the frame. Don’t worry if any edges stick; just gently coax them off with a table knife.  Repeat with the remaining pulp. When dry enough to move from the towel; Lift and transfer the seed paper to cookie sheets and let dry overnight.  I got 5 – 12 inch seed papers from a single batch. Some will have more petals than others. That was ok with me because I liked the variety.  Here’s what the paper looks like when it’s dry.  You can see the bits of green and brown burlap, black seeds and colorful petals. The paper will flatten out after it sits. Ok, now that you have all that gorgeous paper, what are you going to do with it? I have a few ideas but I bet you can think of many more. I cut some into little heart shapes with a metal die and then,  packaged them up to use as wedding confetti. I tied my glassine bag up with May Arts Baker’s Twine. The quality of this twine is amazing!  Next, I tore the paper into rectangles to use as tags on packages. Yes, you can stamp on it!  A bit of May Arts Burlap String, a natural Kraft glassine bag and a tiny clothes pin are all it takes to whip up a quick gift for a friend.  And, finally, I cut and stamped some larger hearts as embellishments for cards. I used my favorite May Arts Textured Lines (PR08) ribbon on this one….The paper is Celebration from the Graphic 45 Le’ Romantique Collection.  Using the same card layout, I added May Arts Cotton Stripes to a fun floral from Simple Stories 100 Days of Summer Collection along with a pretty border die cut and a tiny paper rose.  Thanks for joining us on the May Arts Blog. We hoped we’ve inspired you to use those scraps of paper and ribbon in a new way! You can find a printable tutorial for the May Arts Handmade Seed Paper HERE."
Blog post by: Charlene Driggs
|
No comments:
Post a Comment